Set up Centrapay and activate Payap for your business

24 Jul 2026
Start on the Payap website
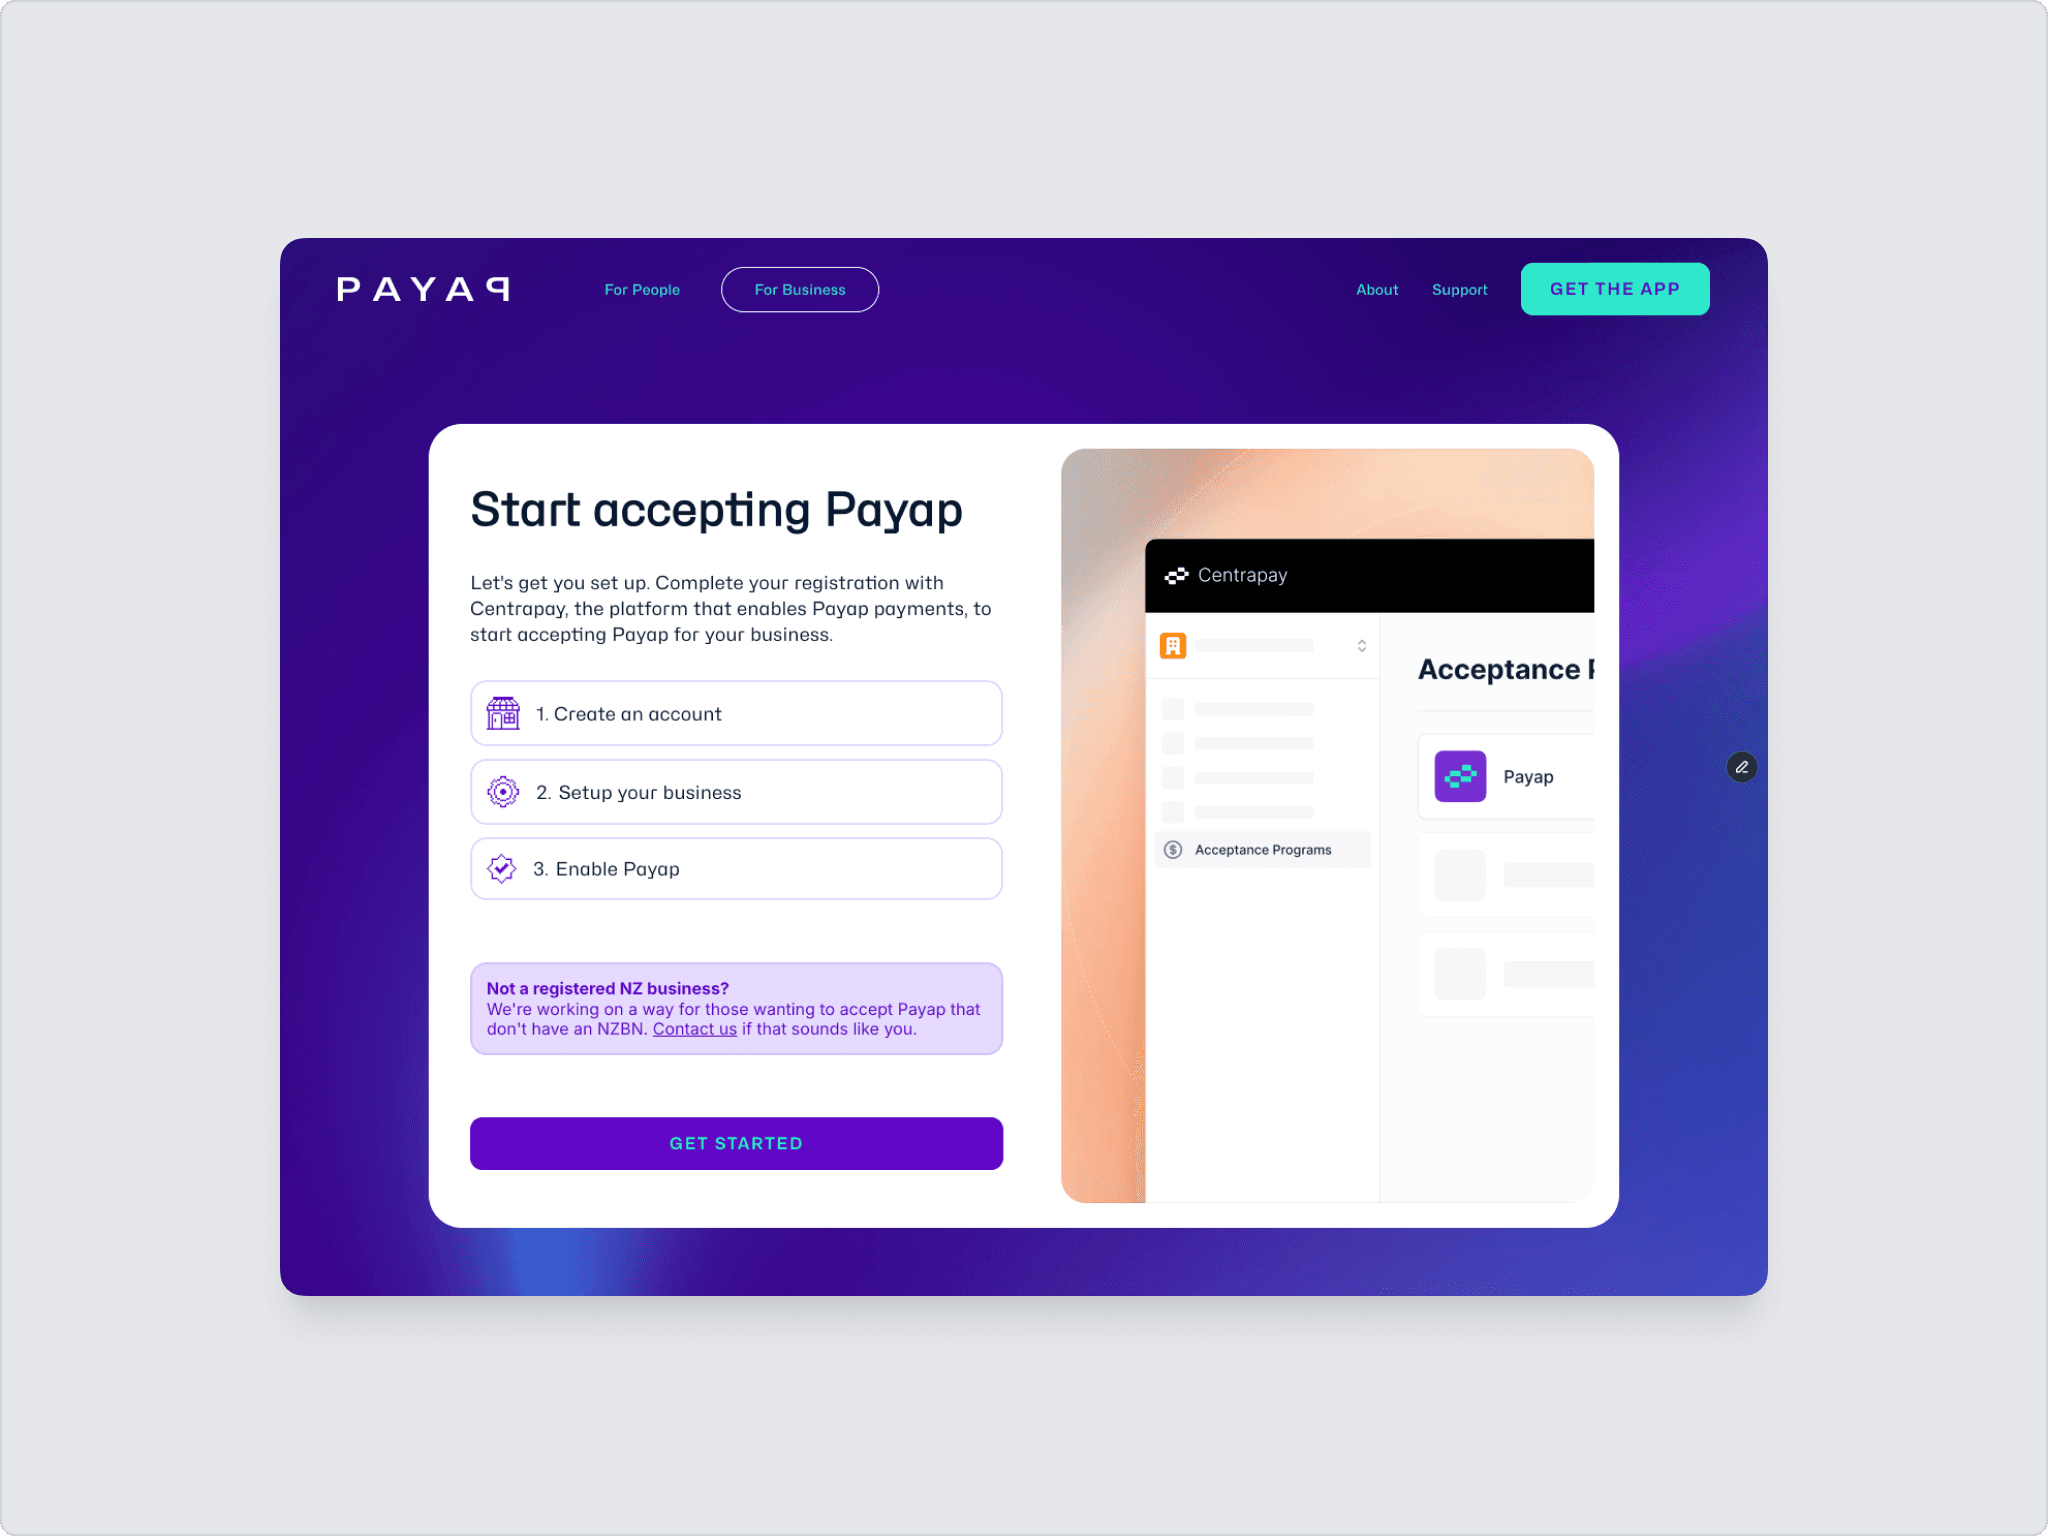
Head to the For Business page on Payap website.
If you're a business with an NZBN, click Get Started.
If you're not a registered NZ business, click Contact Us to submit an interest form. We'll set your account up manually.
Register and log in
First, create a Centrapay account.
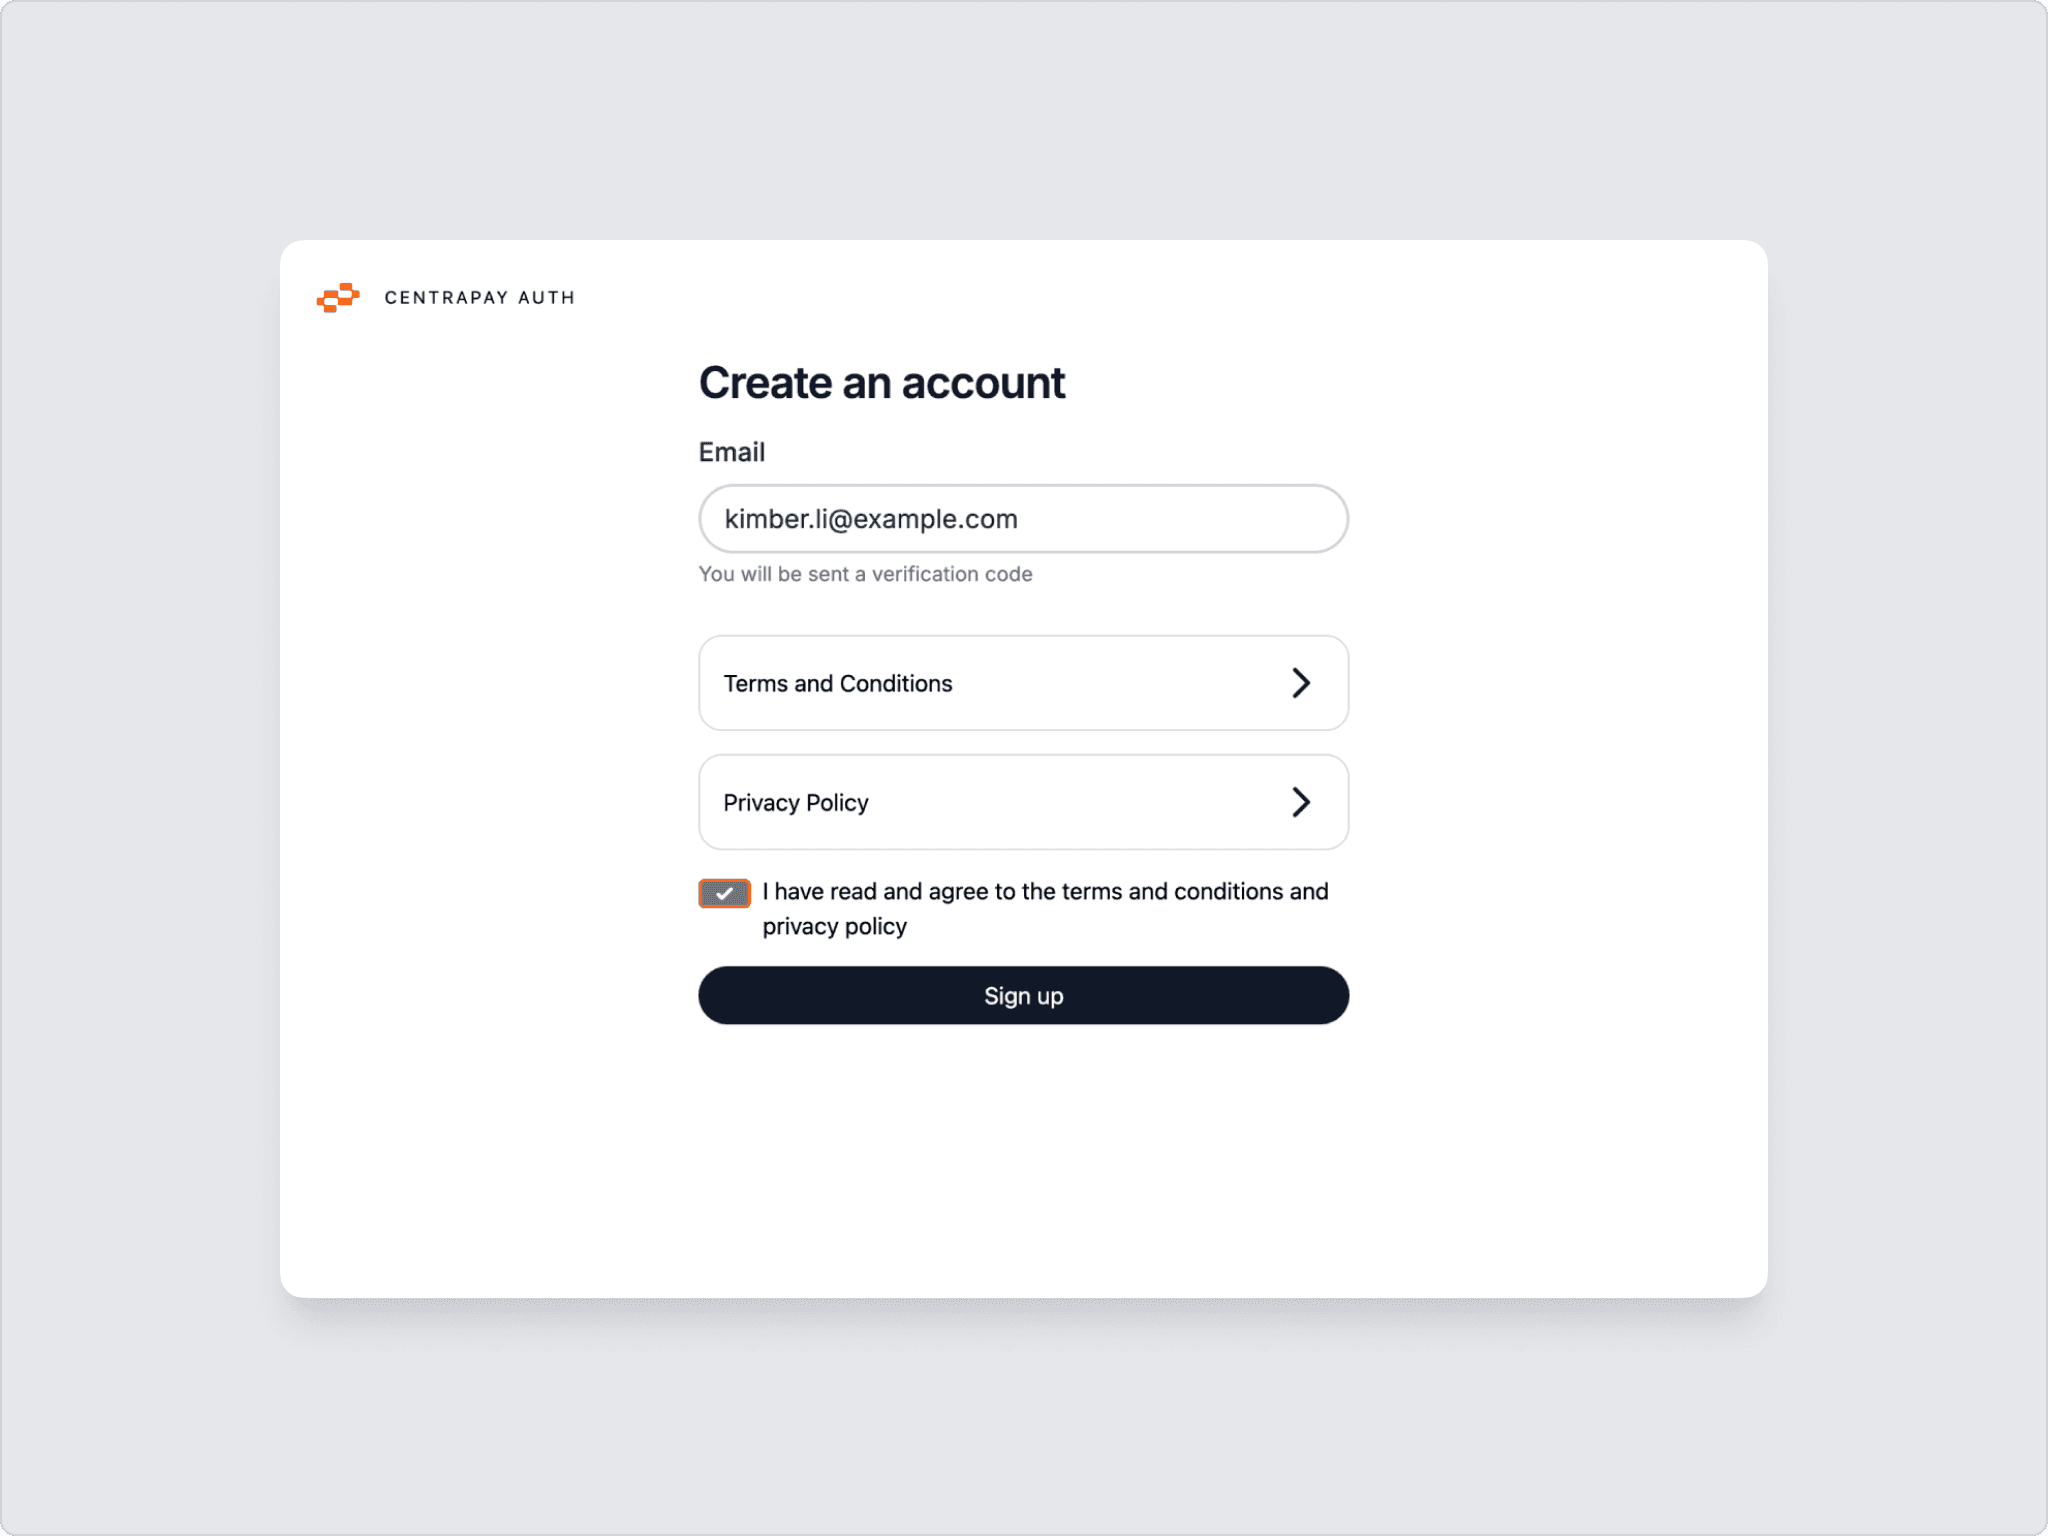
Click Create an Account and enter your email.
Read the Terms & Conditions and Privacy Policy, then tick the box to confirm and click Sign Up.
Enter the 6-digit code we send to your email. That's you — account created.
Create your business
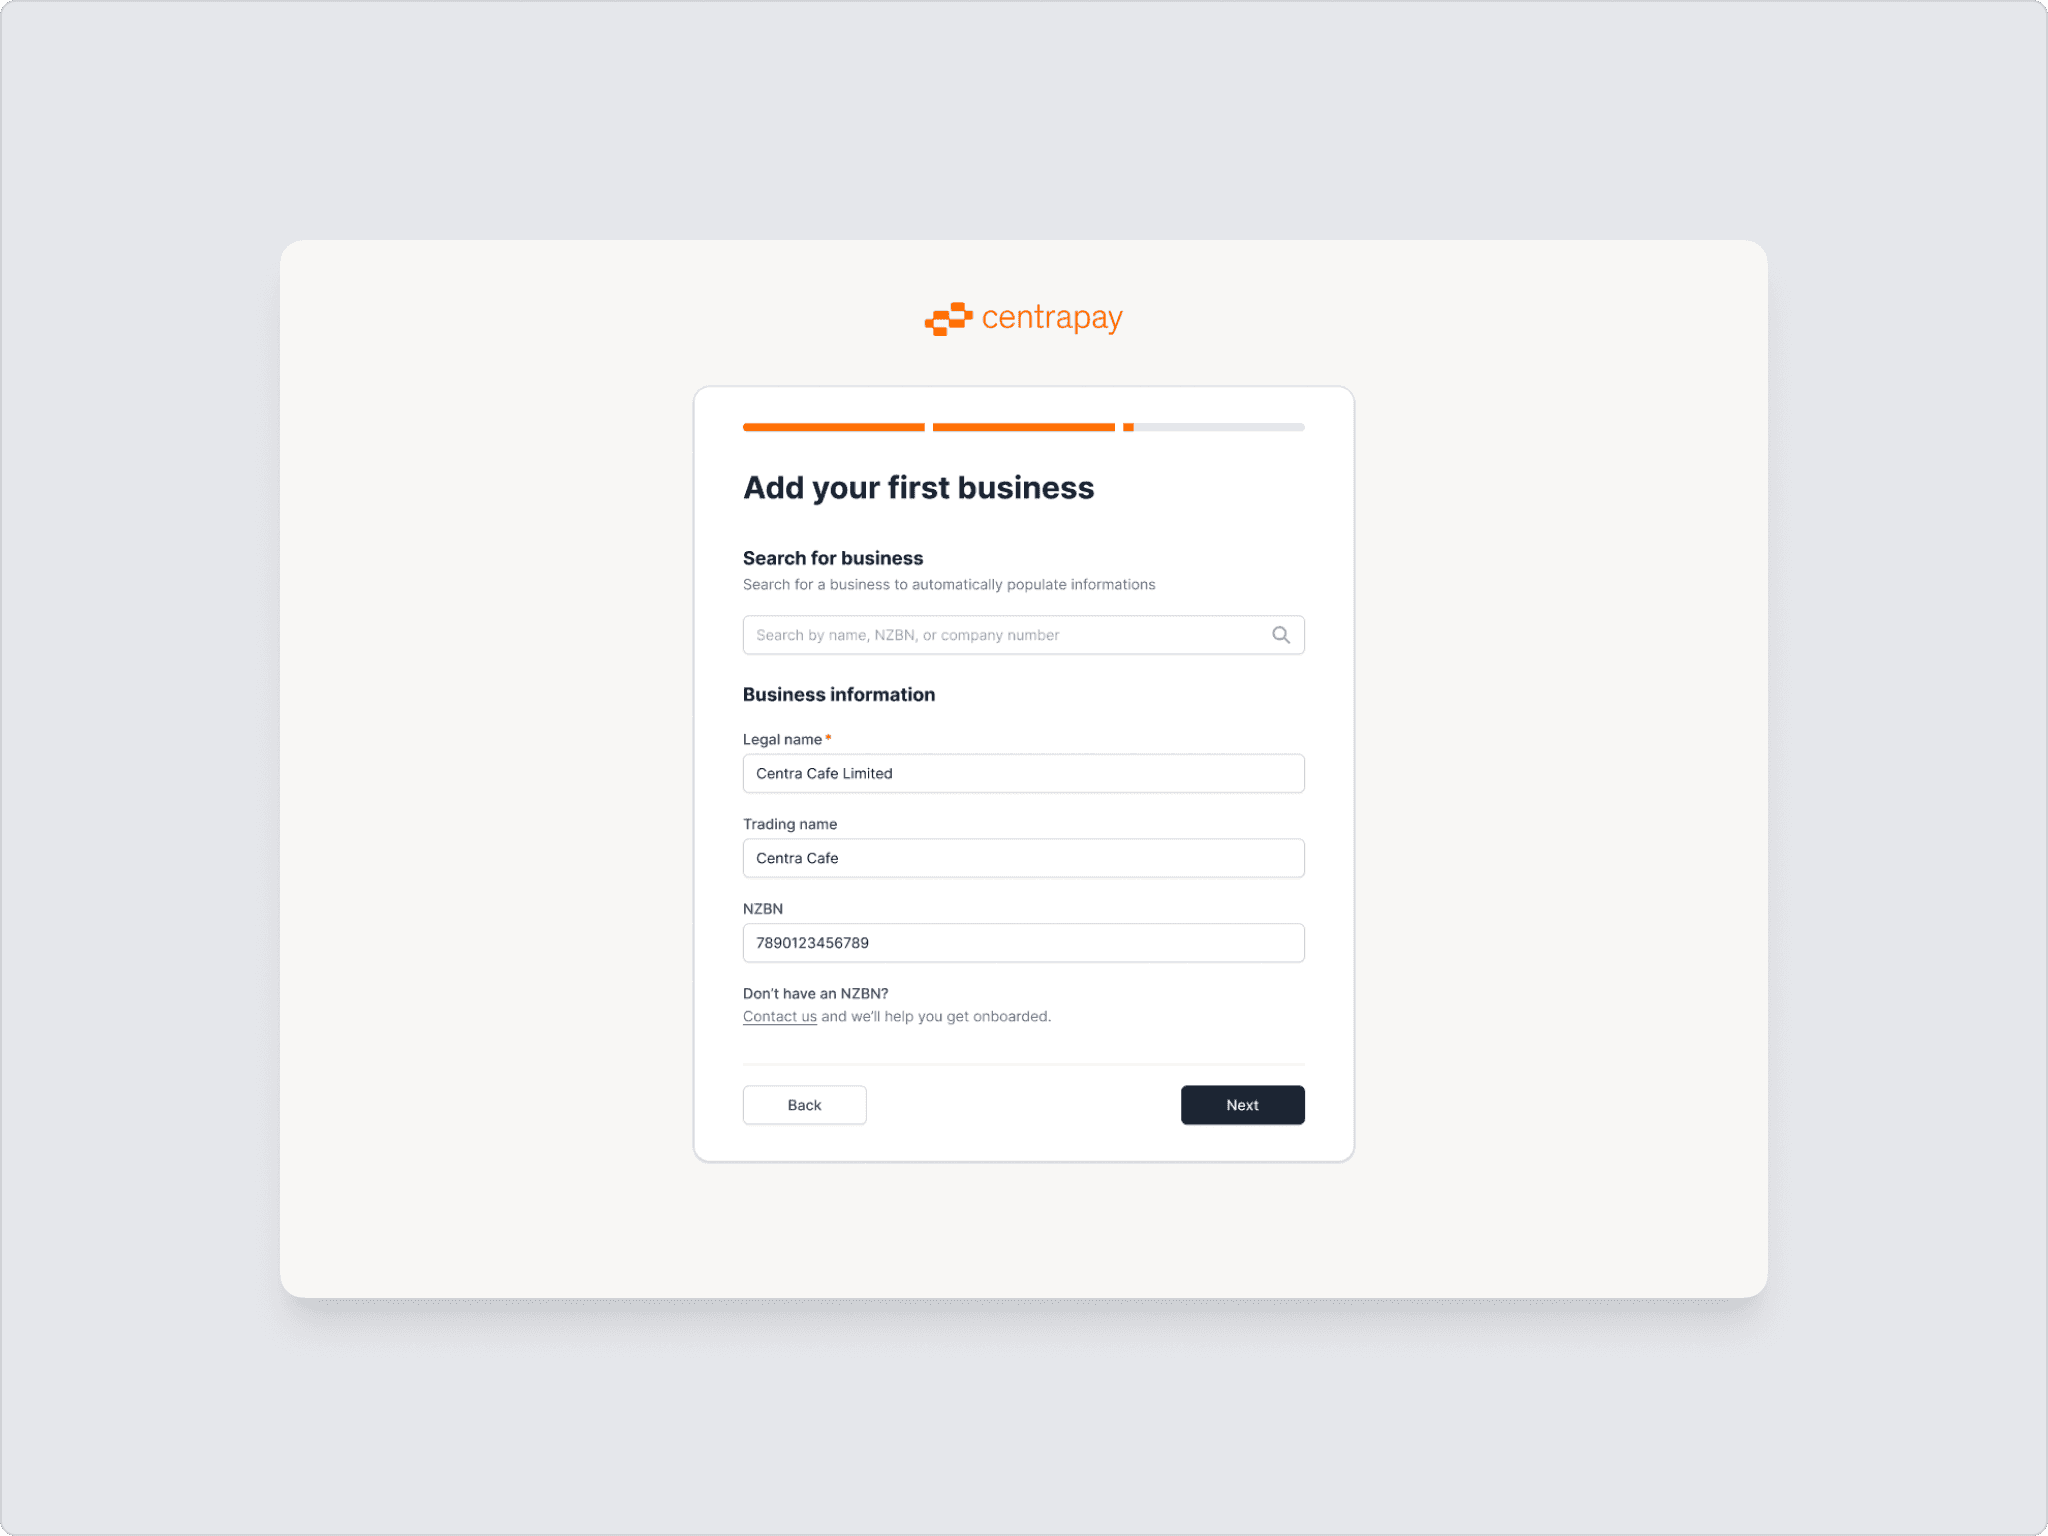
Next, add your first business.
Click Add a Business to start.
Enter your legal name.
Set up your email notifications.
Fill in your business details, then click Submit.
Tip: Use the search field to find your business and auto-fill the details.
Enable Payap
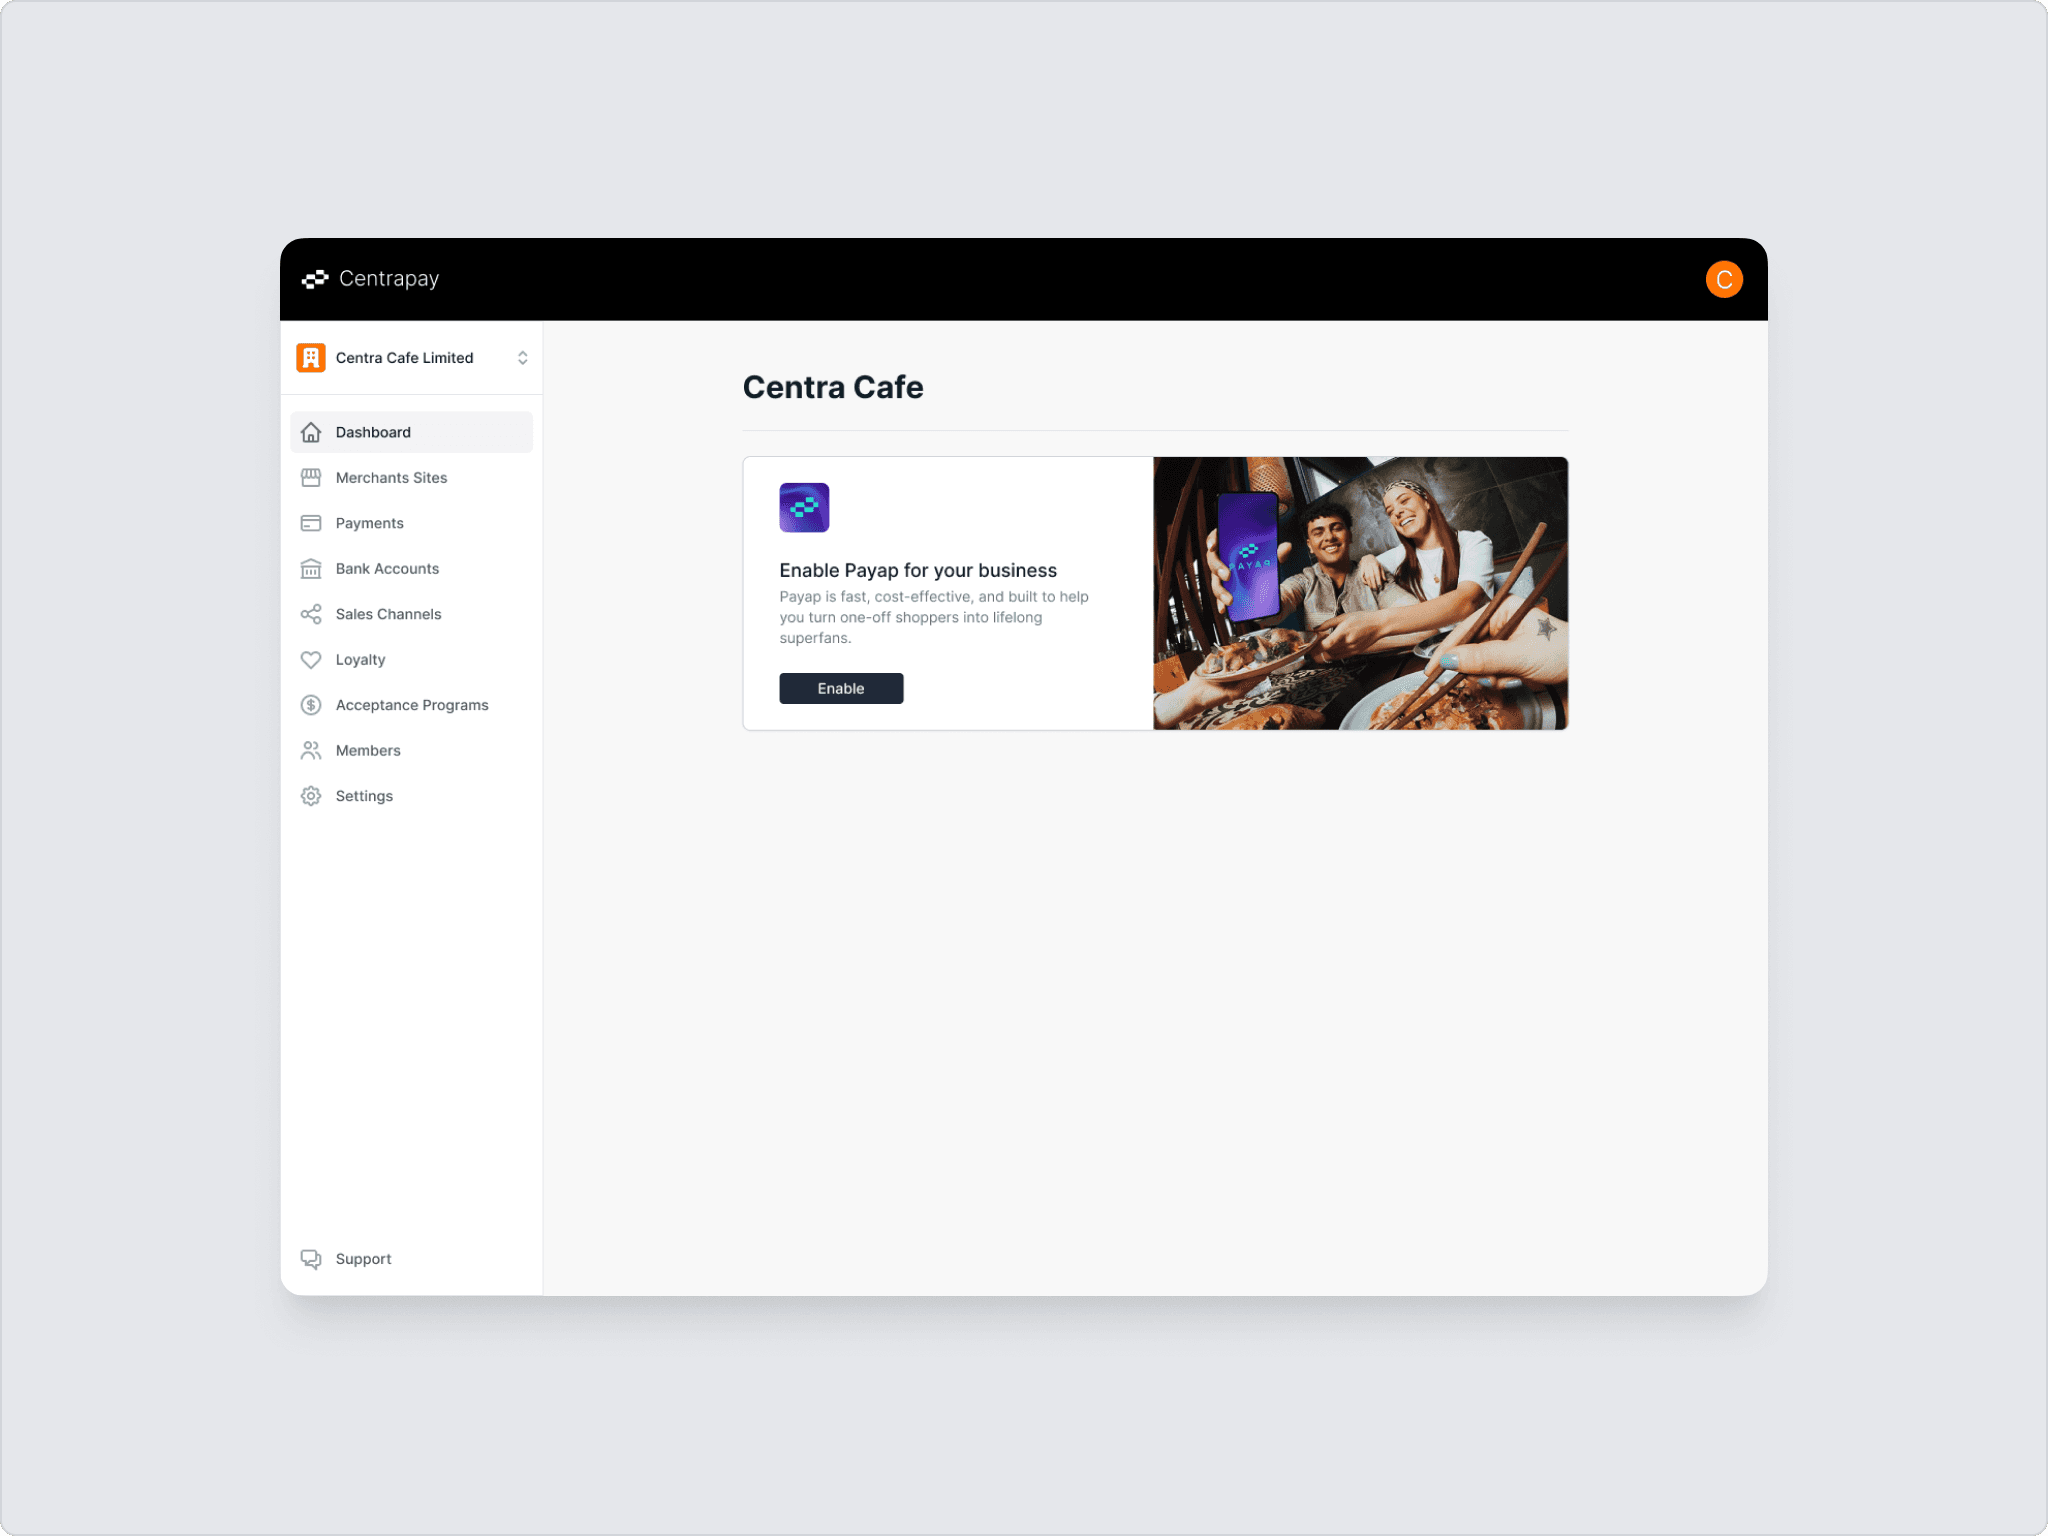
On the home page, find the Payap card and click Enable to begin.
The Activations card shows your tasks and your overall progress. After each step, head back to the Dashboard. The exact steps depend on your business, but here's the general shape:
Your actions
Add Merchant Sites
Set up Payap
Connect Sales Channels (if applicable)
Connect E-Commerce Store (if applicable)
Handled by us
Review business and activate Payap
Activate sales channels

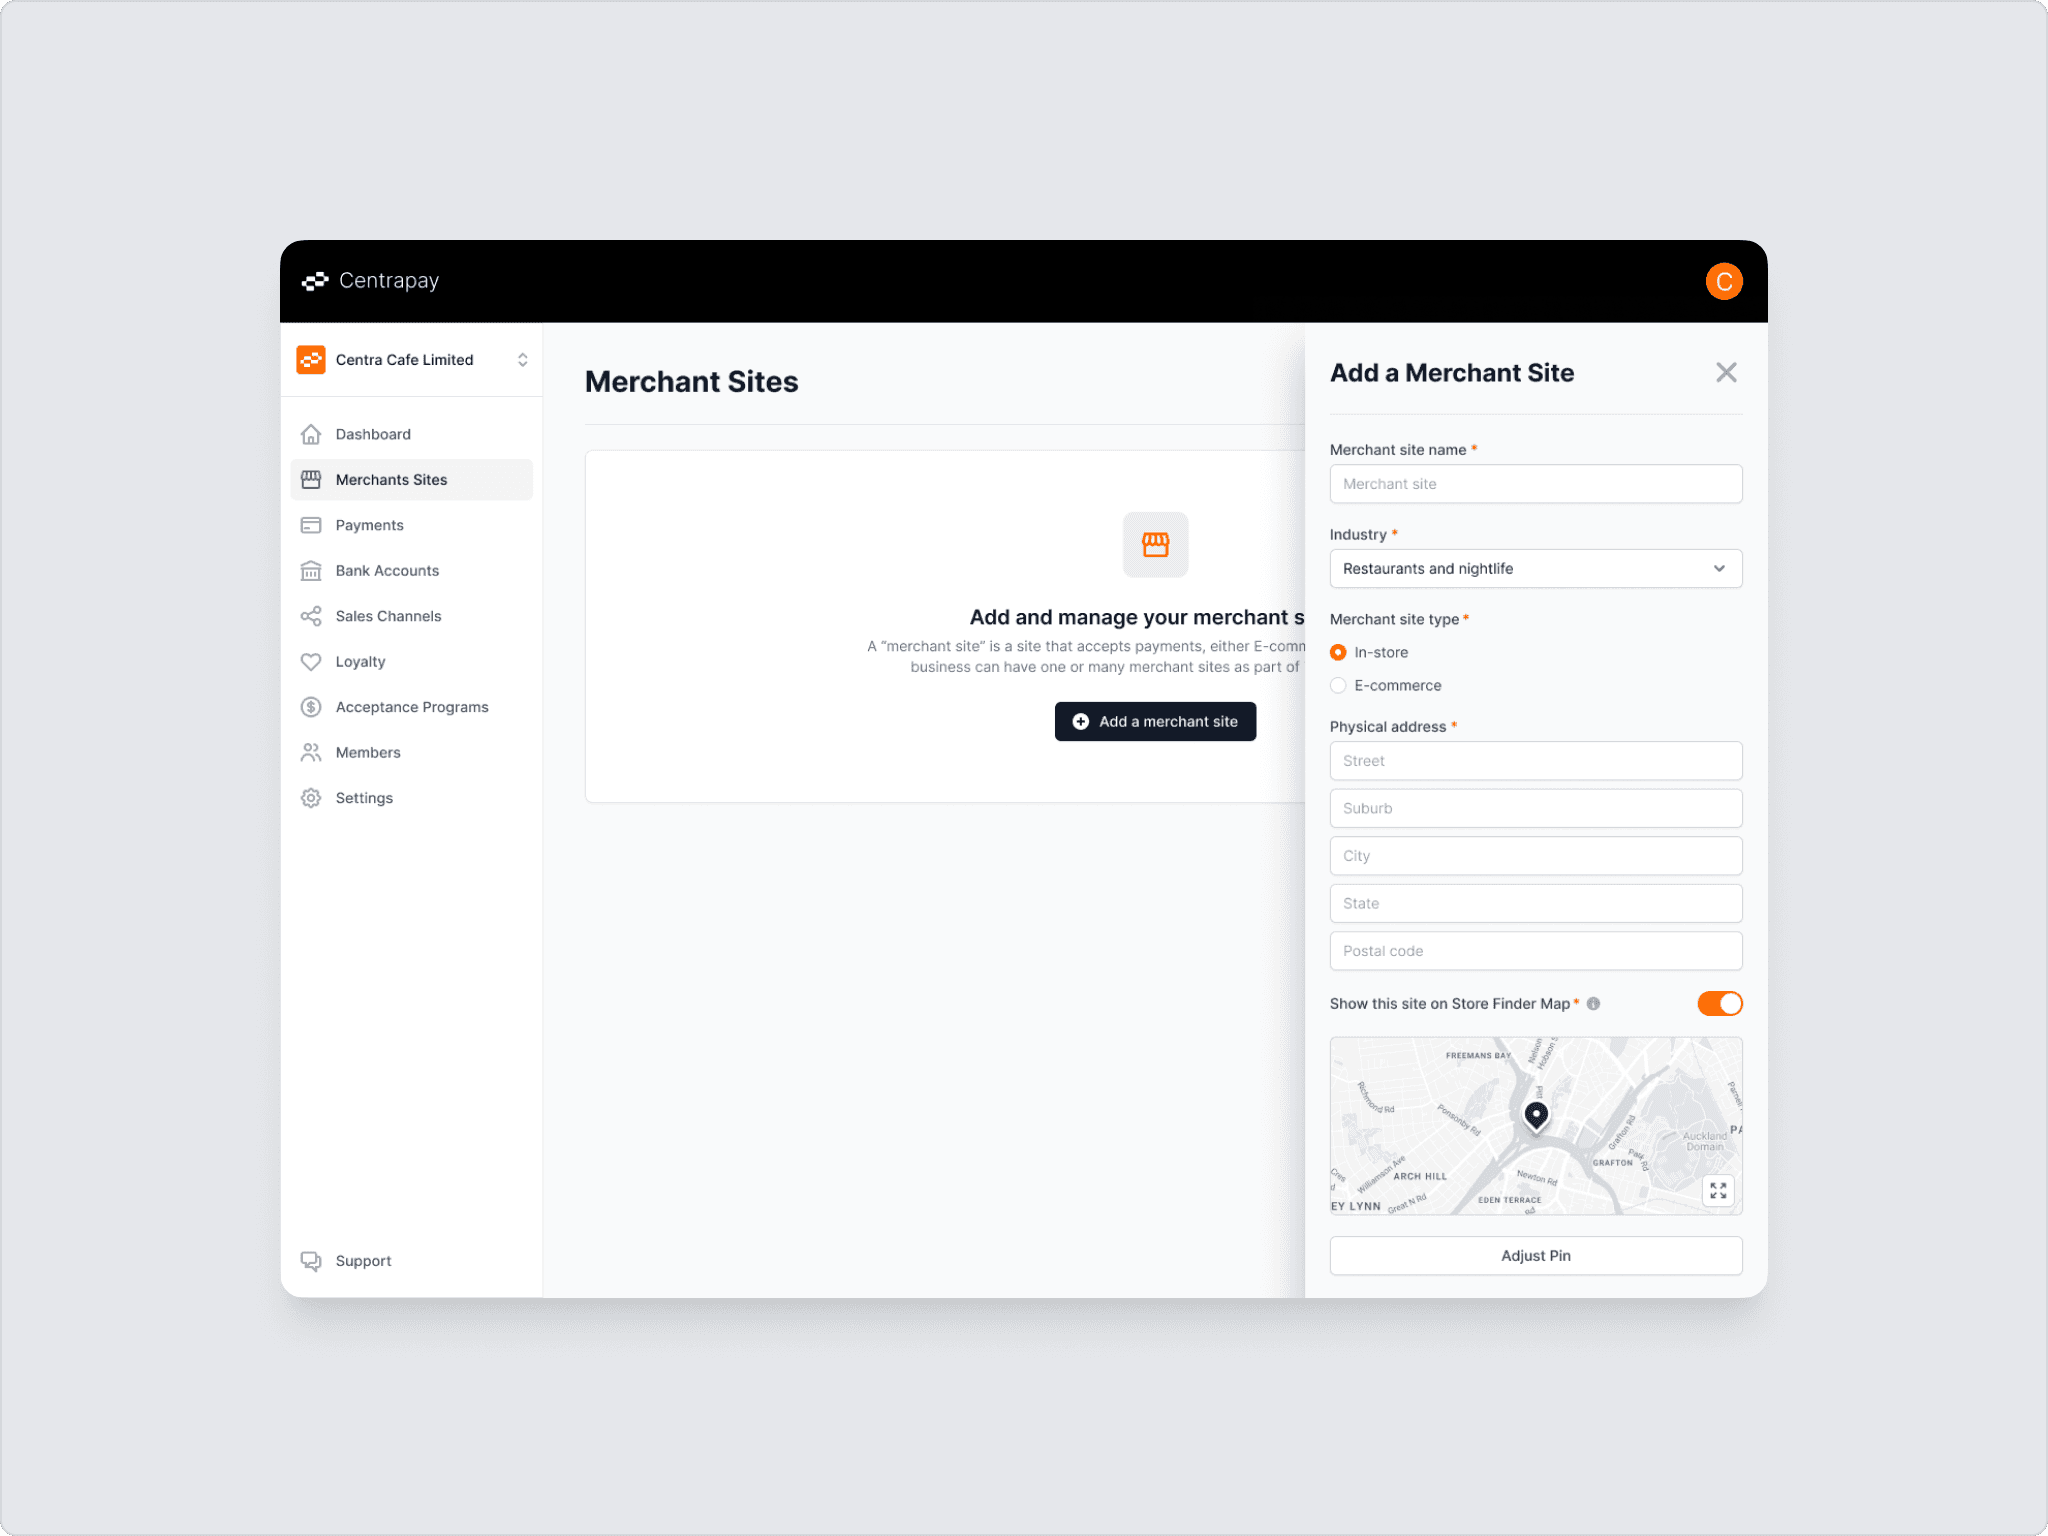
Add Merchant Sites
Go to the Merchant page and add one or more merchants for your business. Once you've filled in the details, every merchant appears in the list on the Merchant page.
Set up Payap
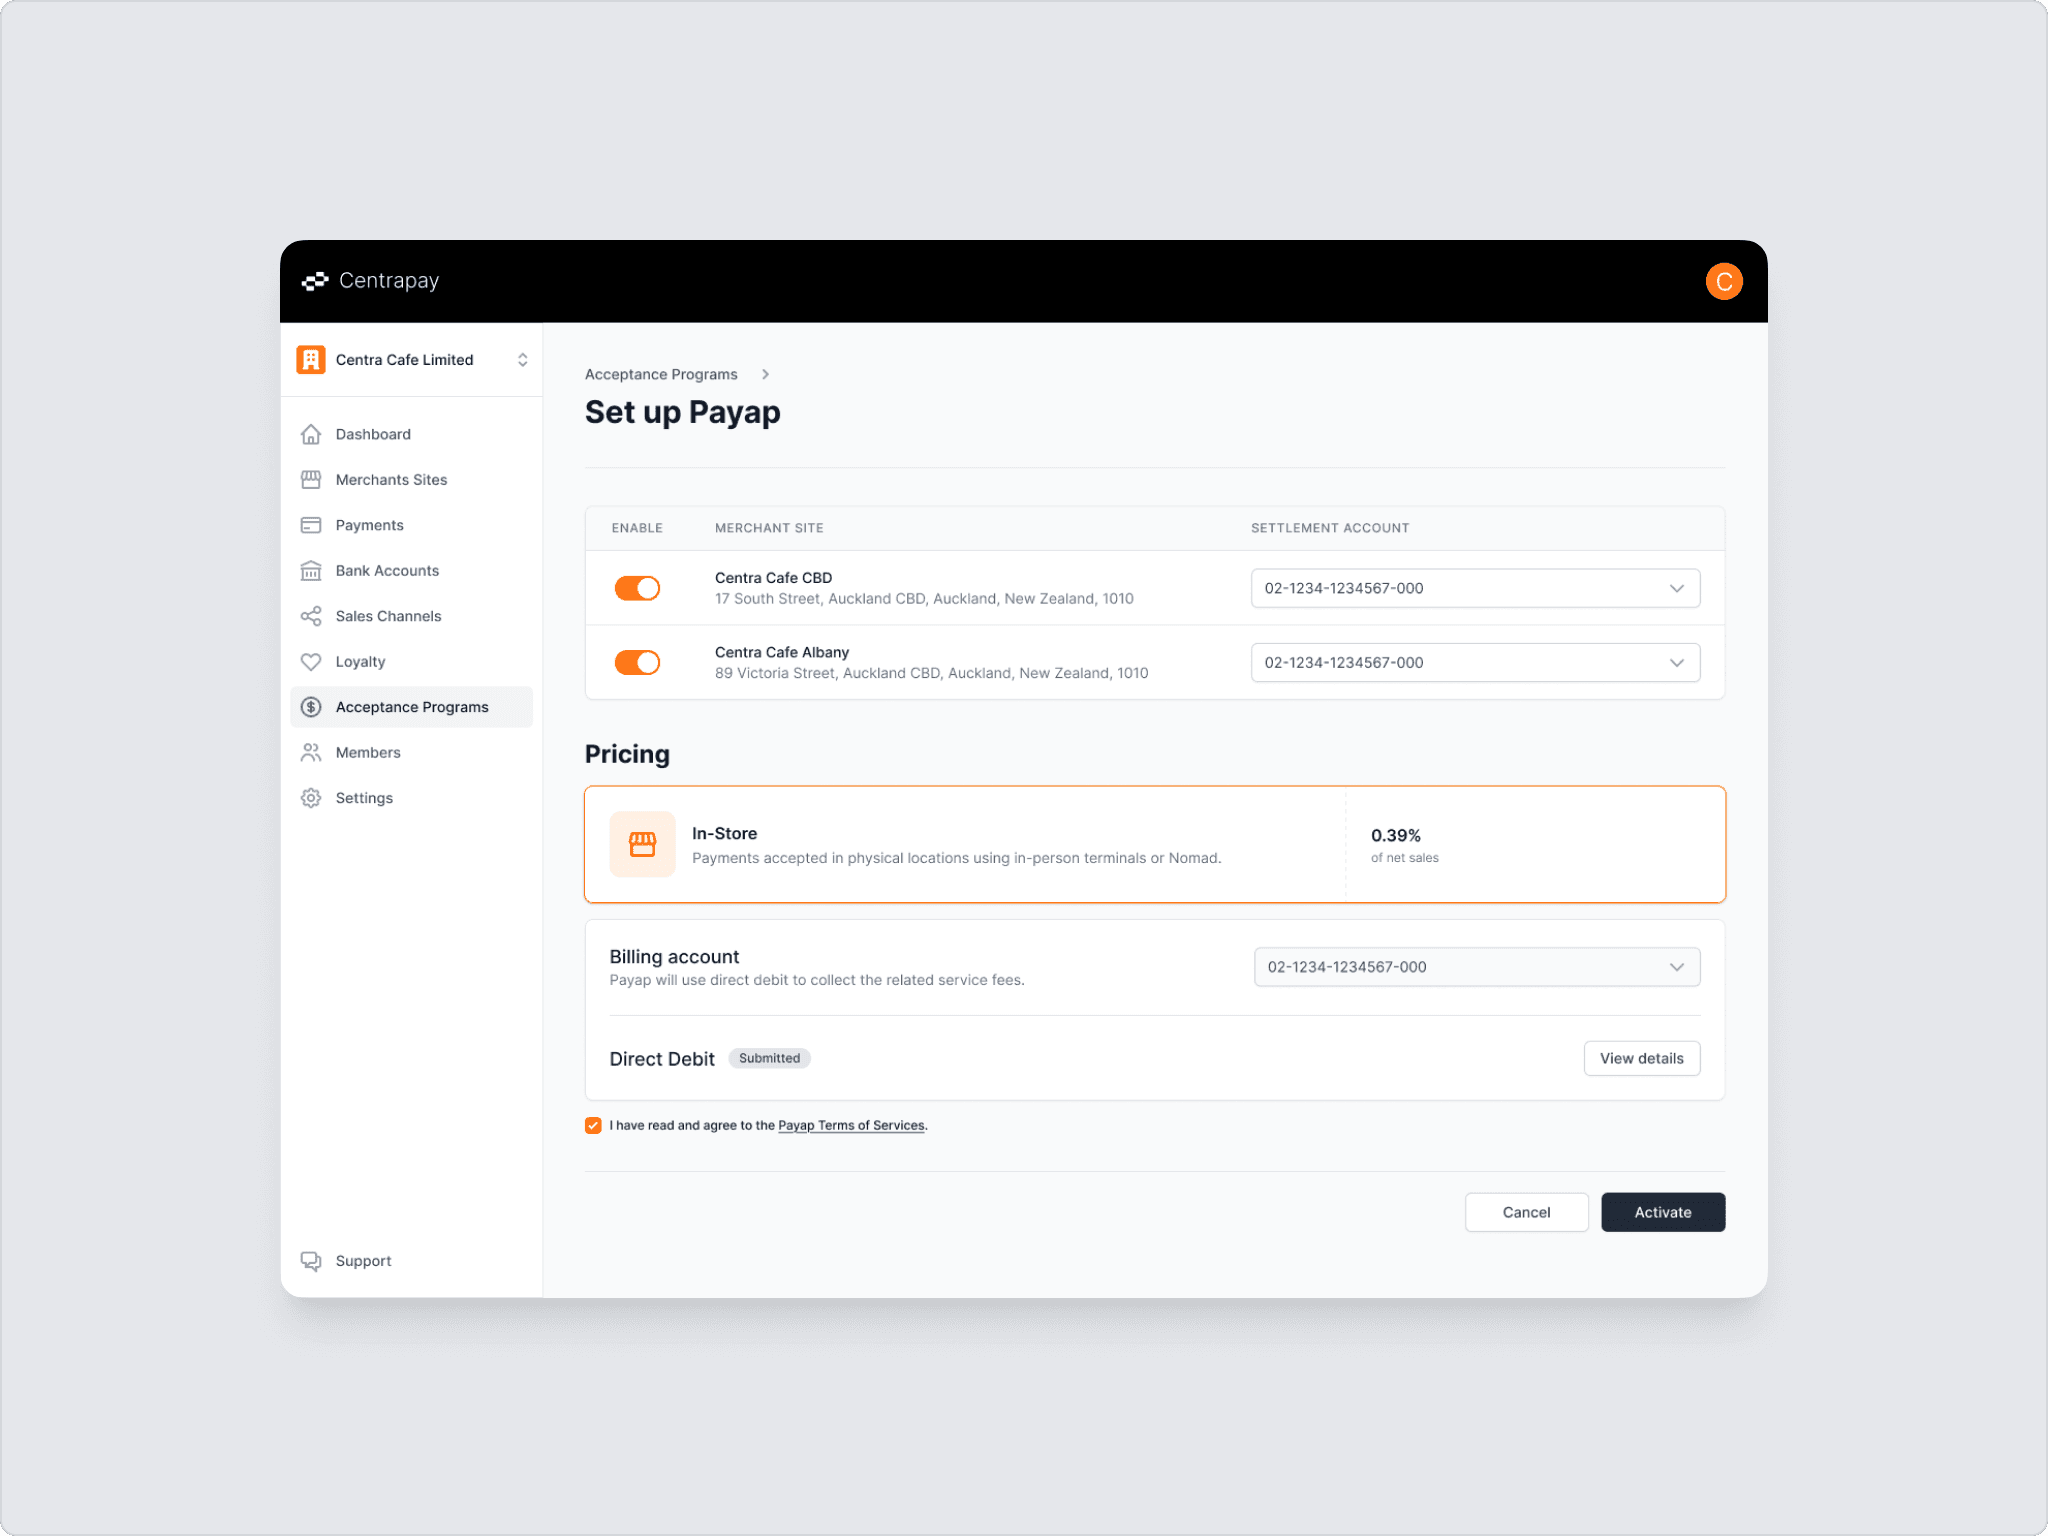
Open the Payap setup page. Here you'll:
Choose which merchants to enable Payap for.
Add a settlement account. You can use a different one for each merchant.
Review your Payap fees.
Set up the bank account for direct debit and authorise it, so your service fees are paid automatically.
Finally, tick the Terms & Conditions and click Activate to submit your Payap application.
Connect Sales Channels (if applicable)
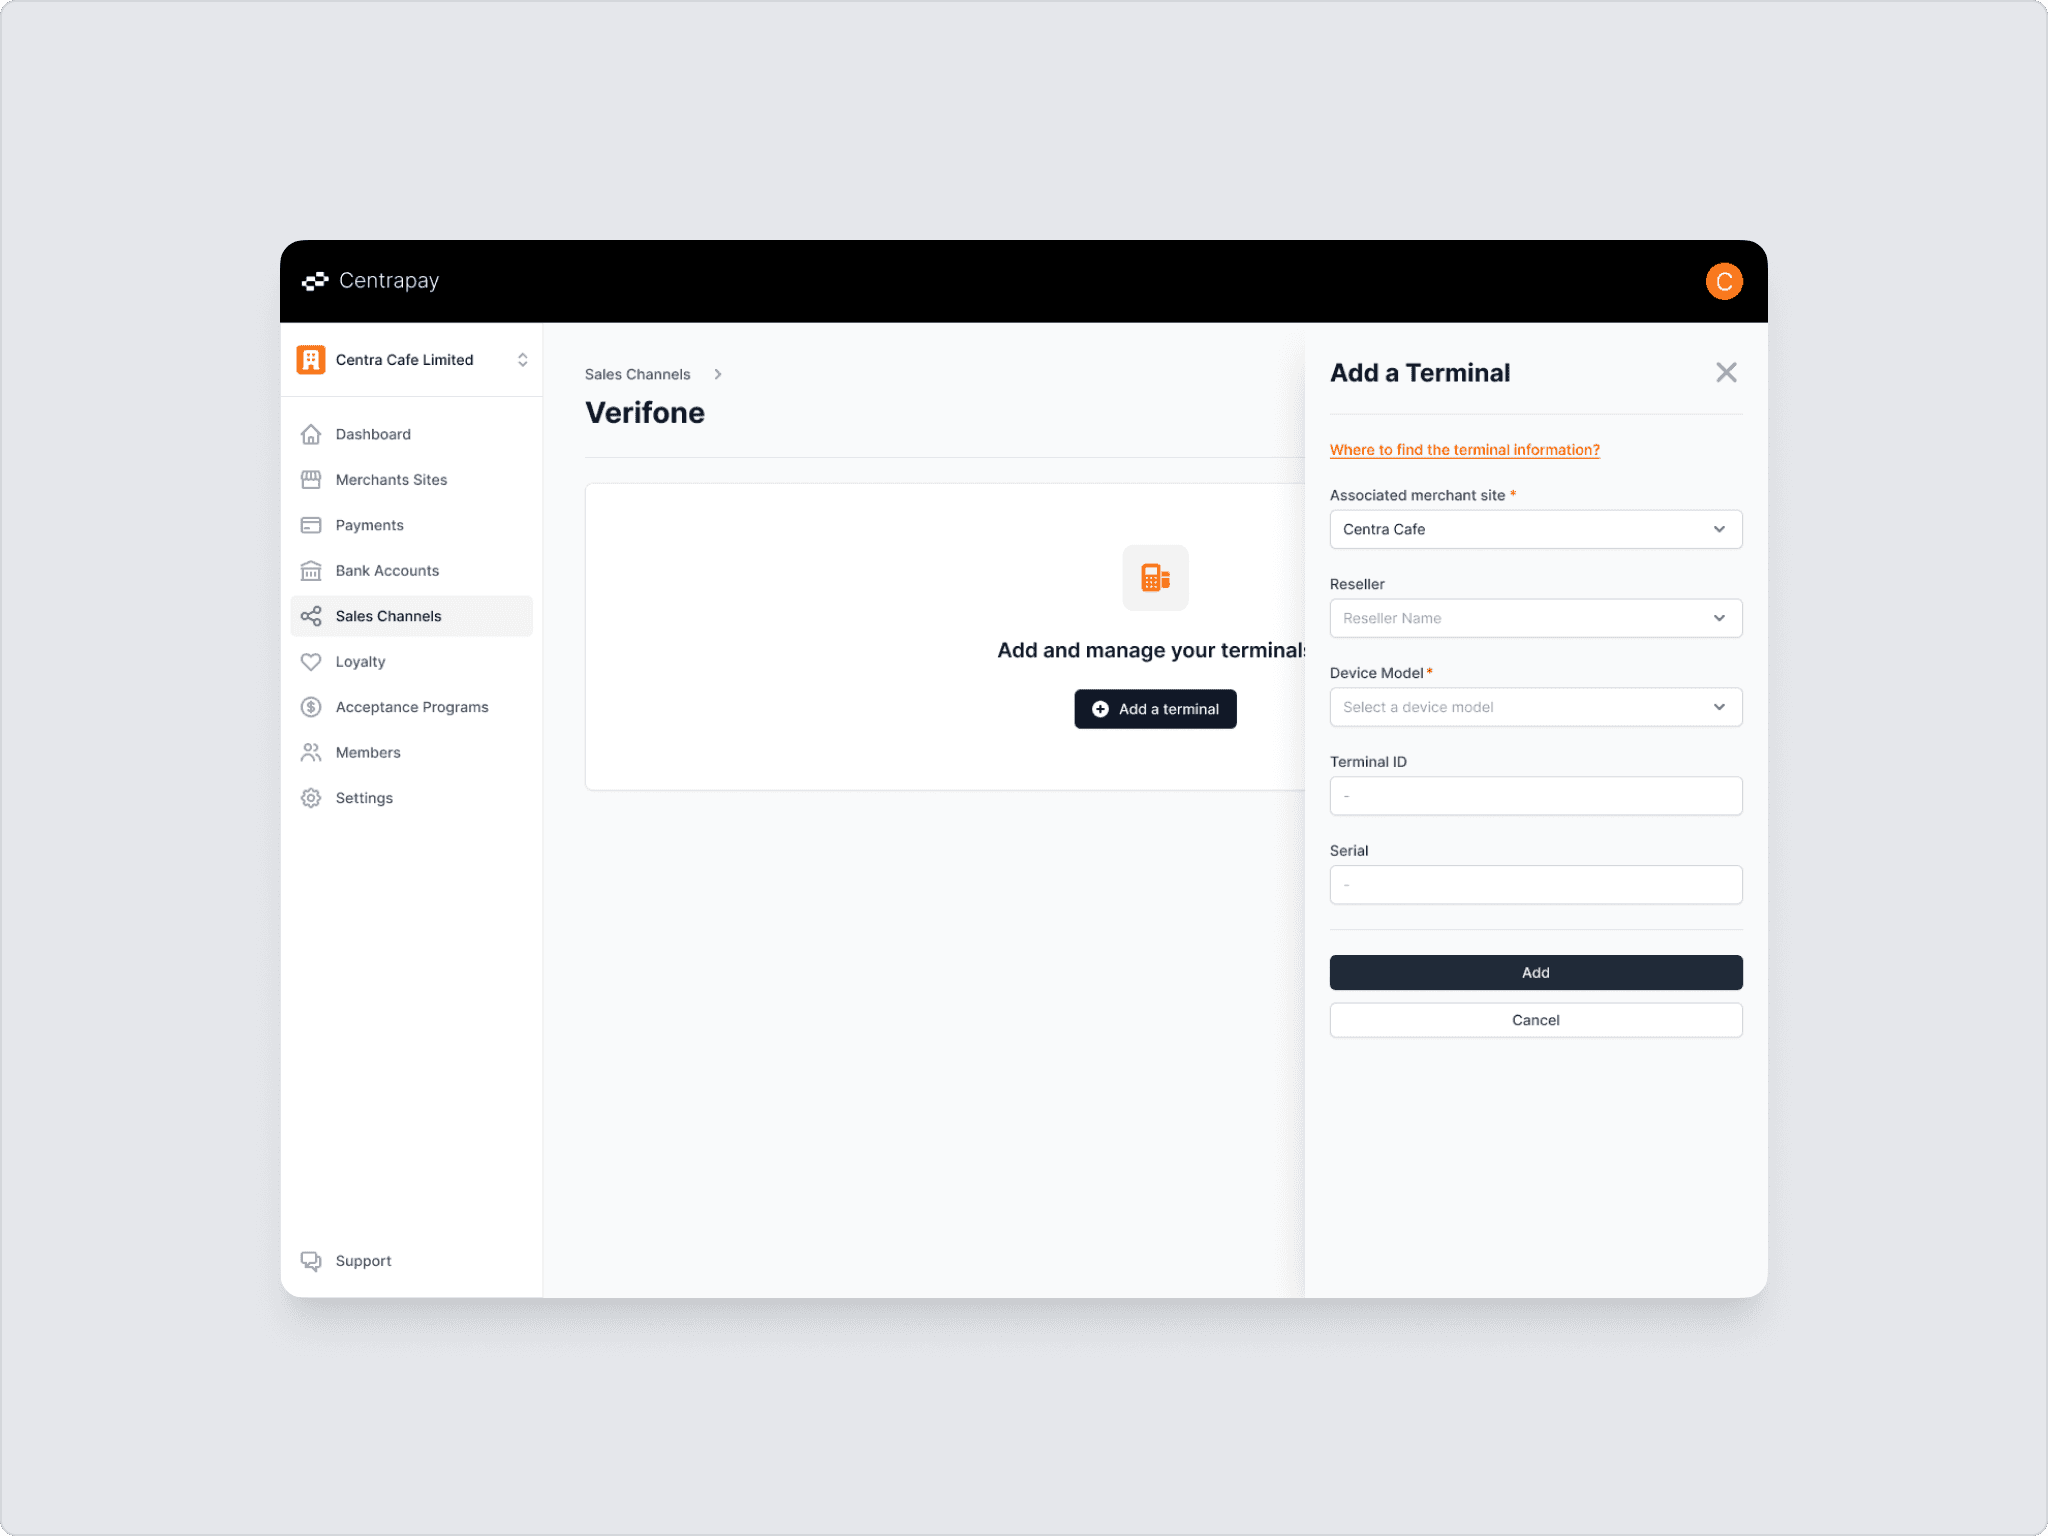
For a physical merchant, set up a sales channel to match how it takes payments.
With a terminal: select your provider or reseller, click Connect, enter the details, and click Add.
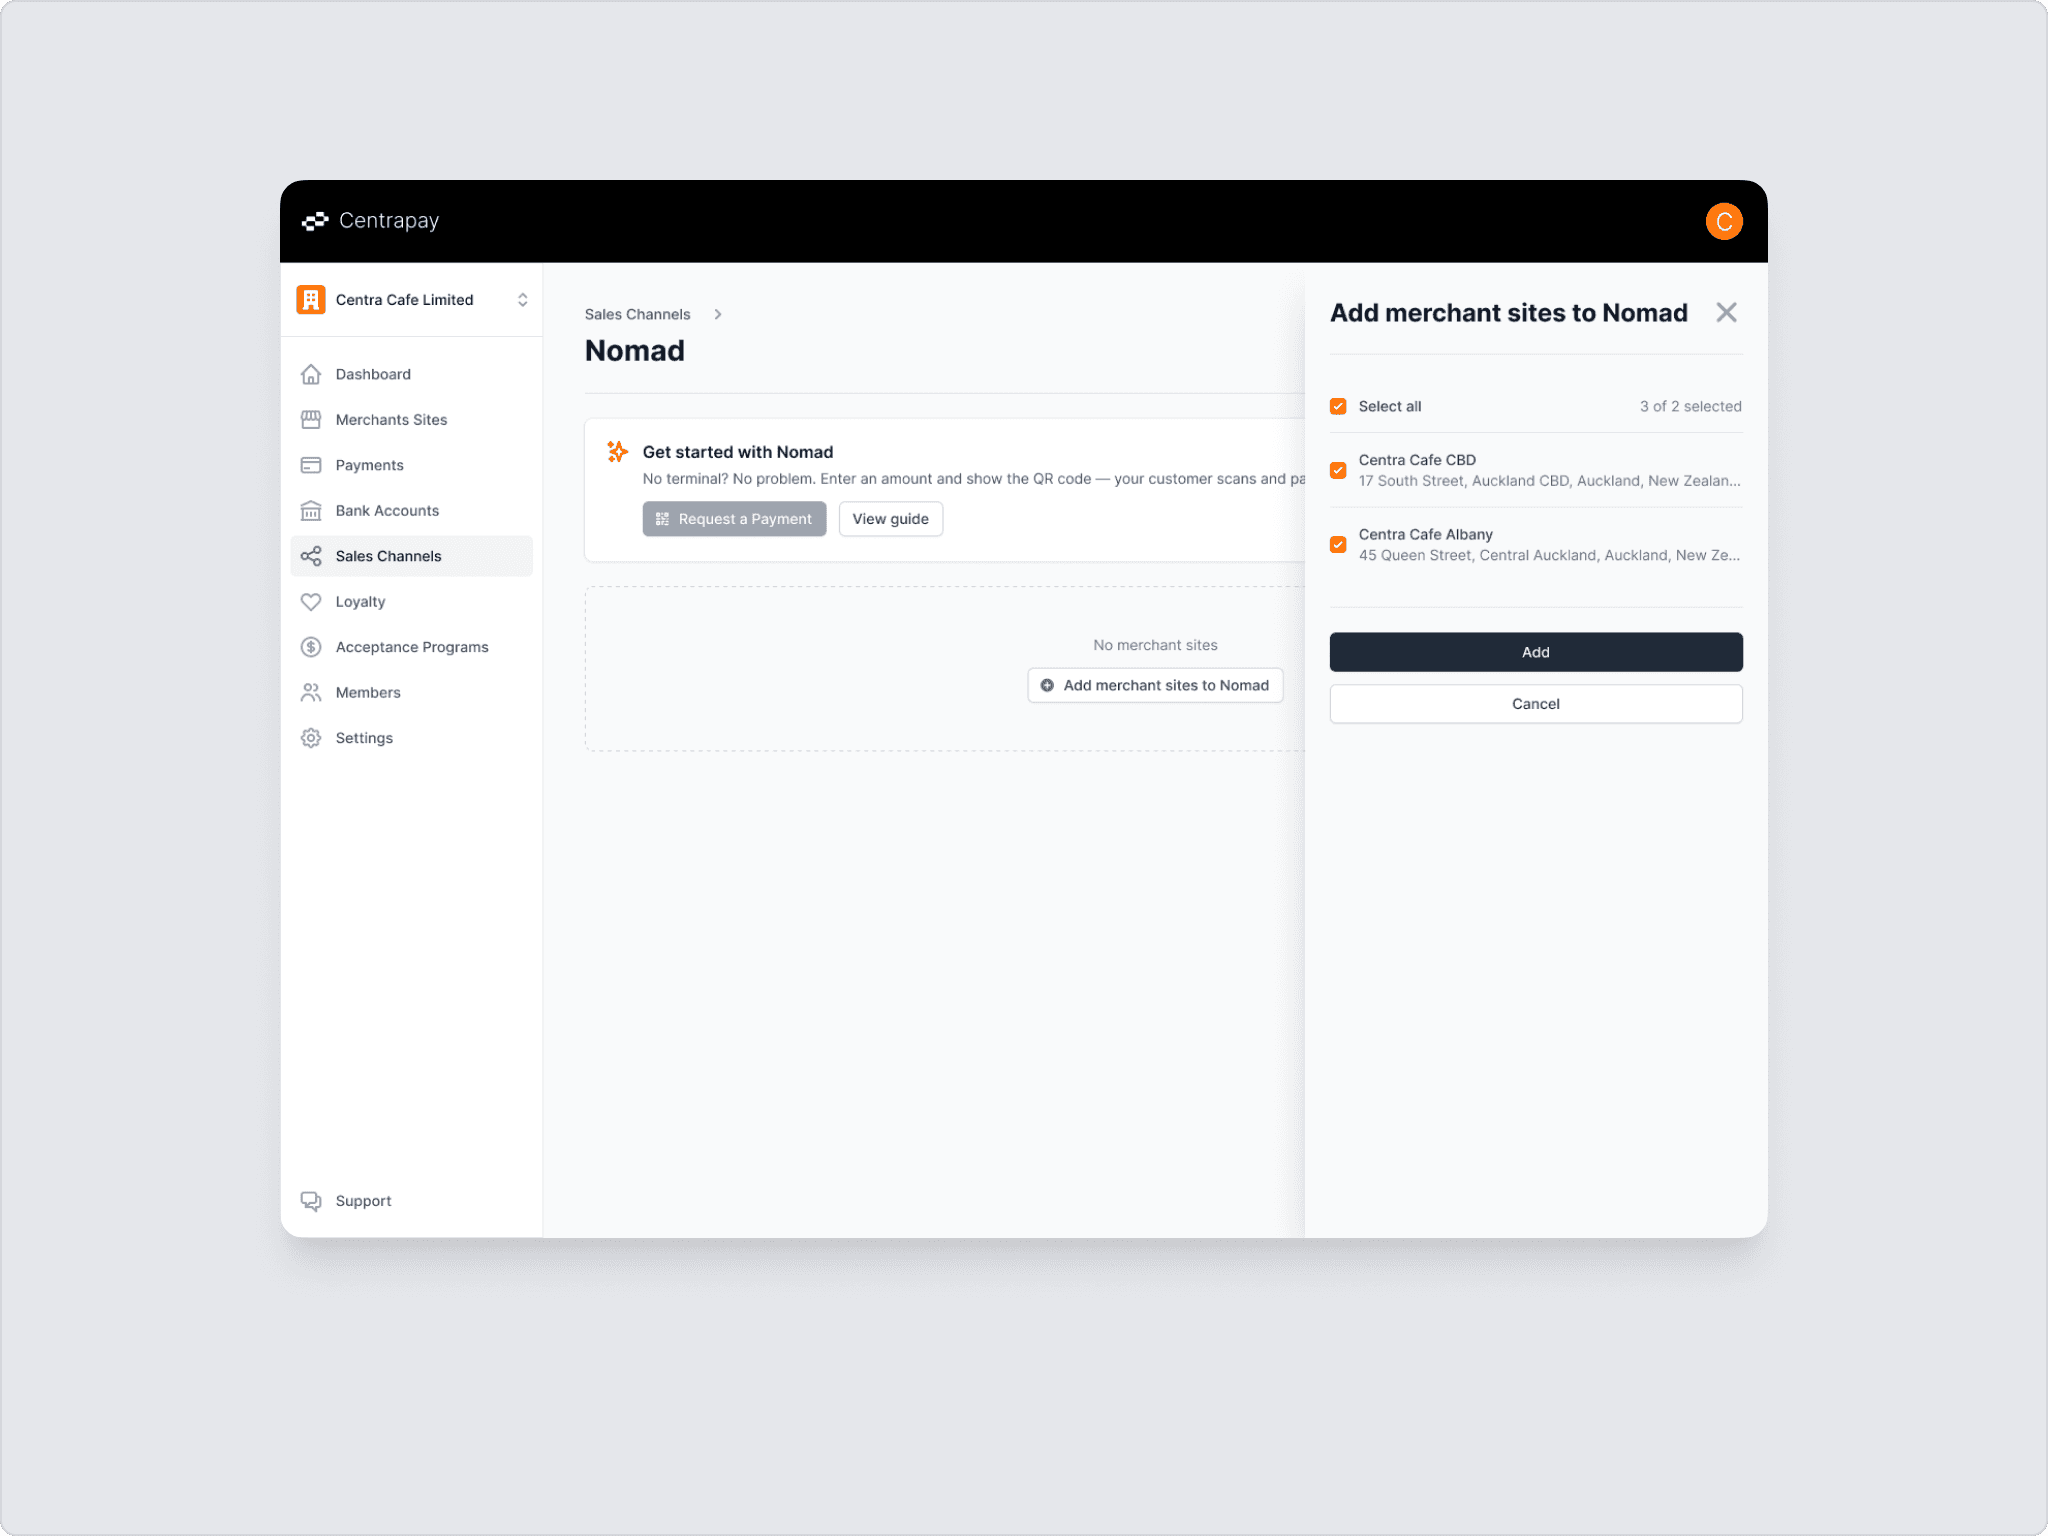
Without hardware: choose Nomad to take payments straight from a computer or phone. No physical terminal required.
Connect E-commerce Store (if applicable)
For an e-commerce merchant, link your online store. For a Shopify store, for example, click Go to Shopify to connect it. See the guide for the full walkthrough.
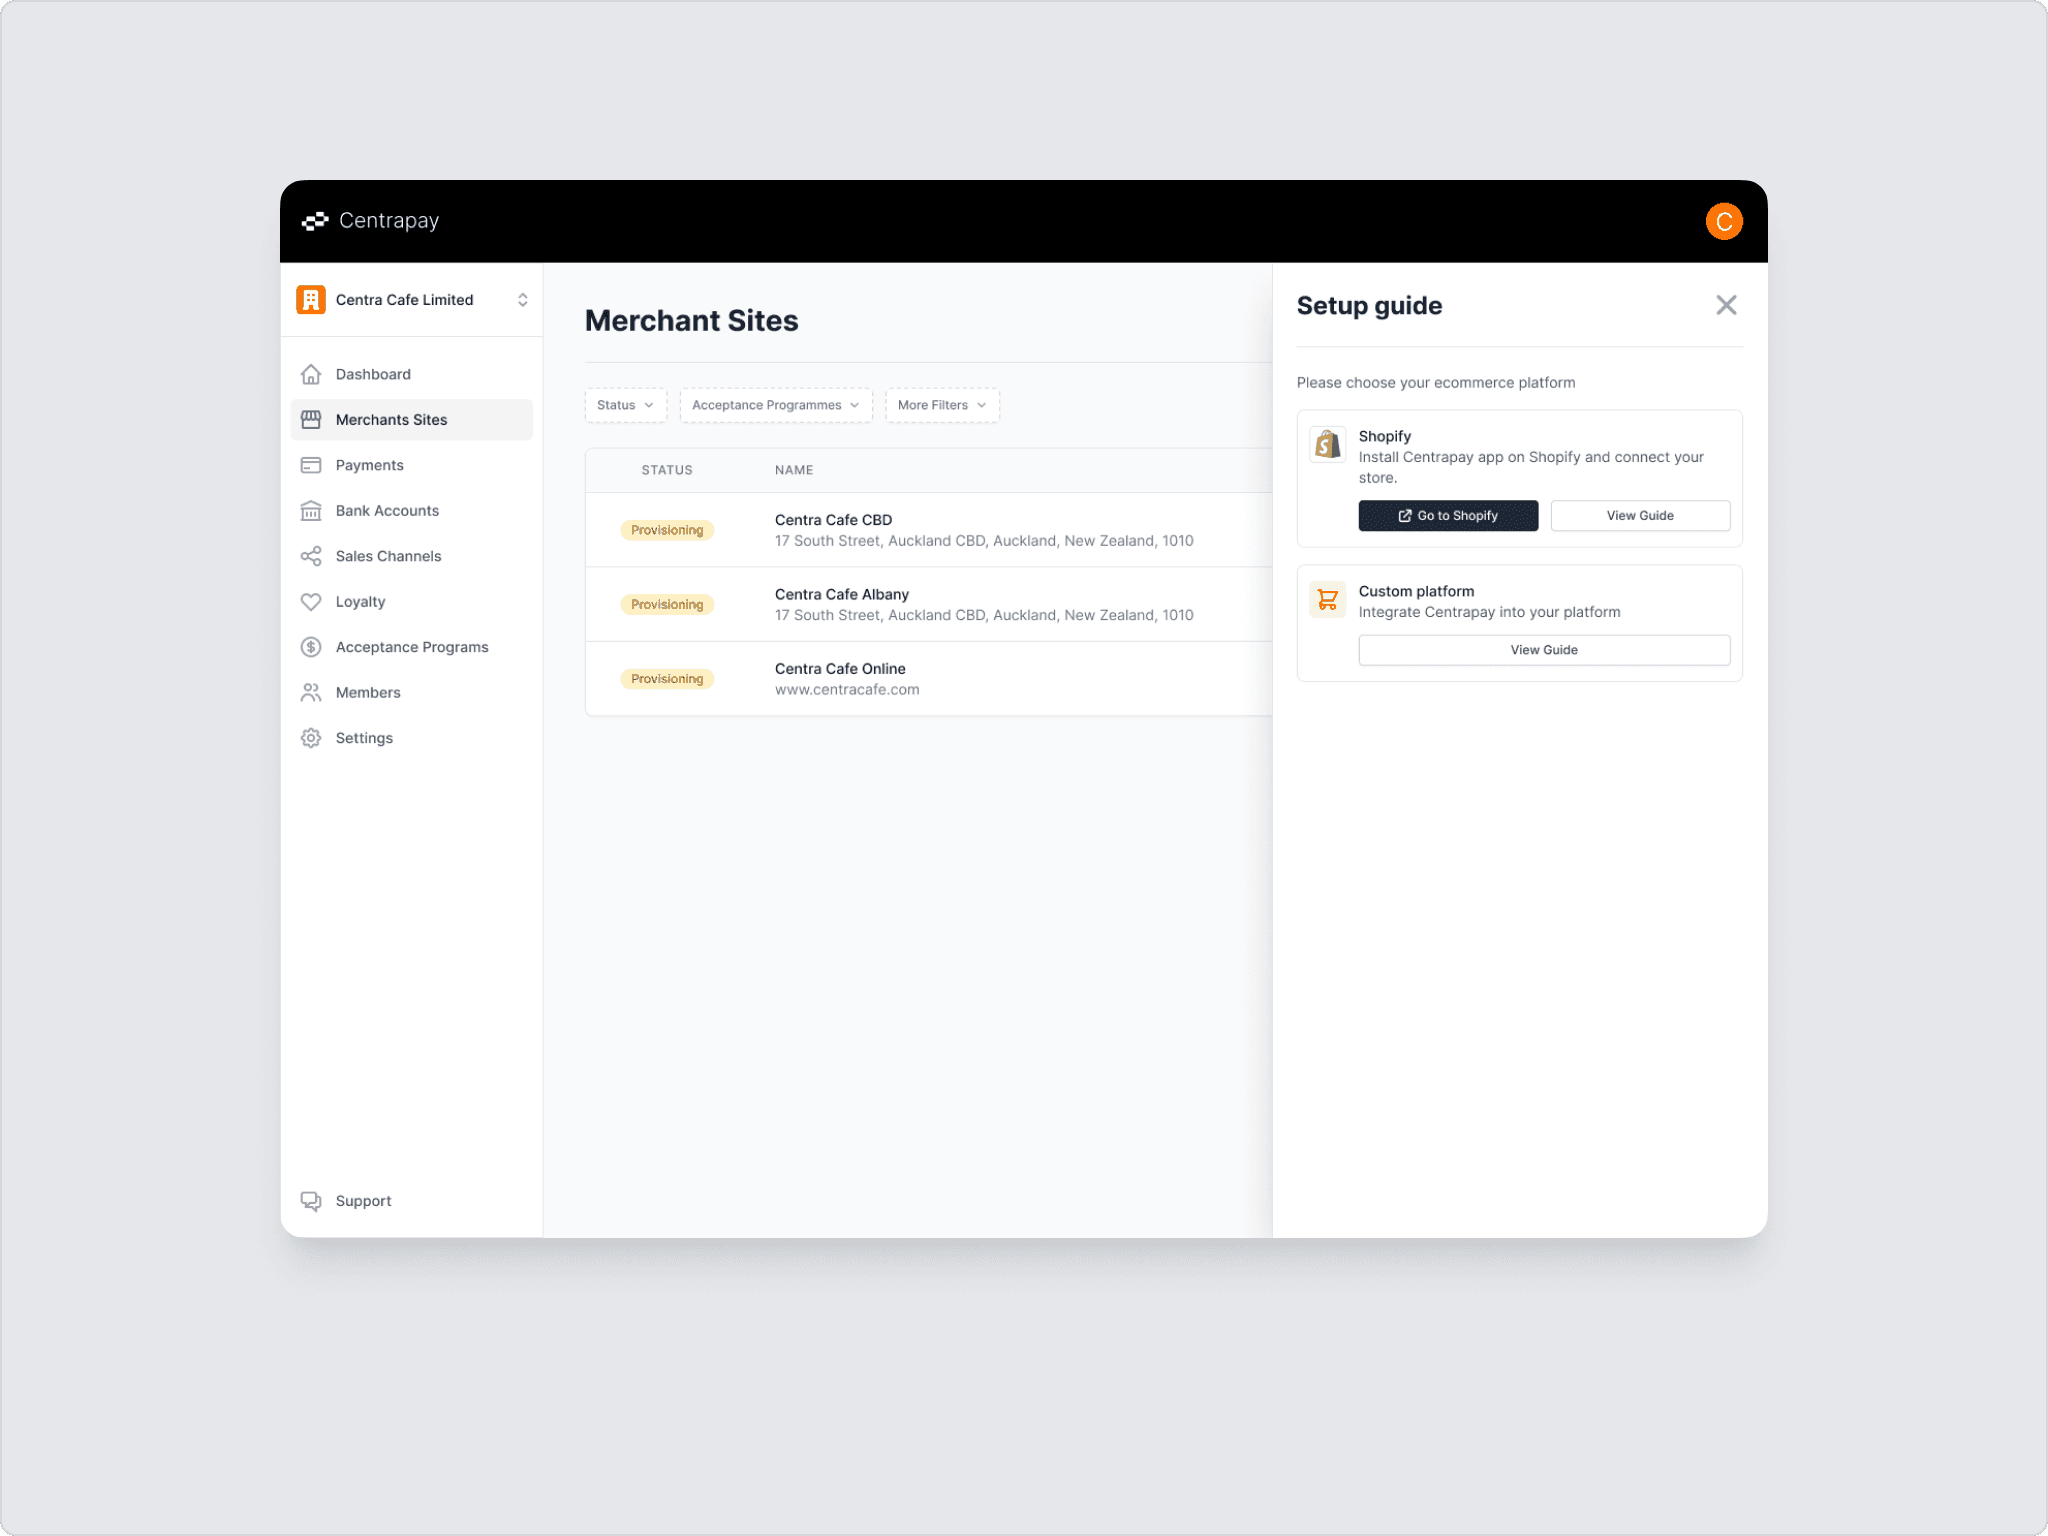
Once you've completed the steps above, your part is done. We'll take it from here. The HANDLED BY US section shows the progress on your application, and we'll let you know the outcome as soon as it's ready.
Review business and activate Payap
We review your business details to confirm we can enable Payap. Processing times may vary.
Activate sales channels
We contact your provider or reseller to activate Centrapay on your terminal and switch on Payap as a payment method. If you chose Nomad, we review your merchant details before approving it.
You can check the status of each merchant's sales channels here any time.
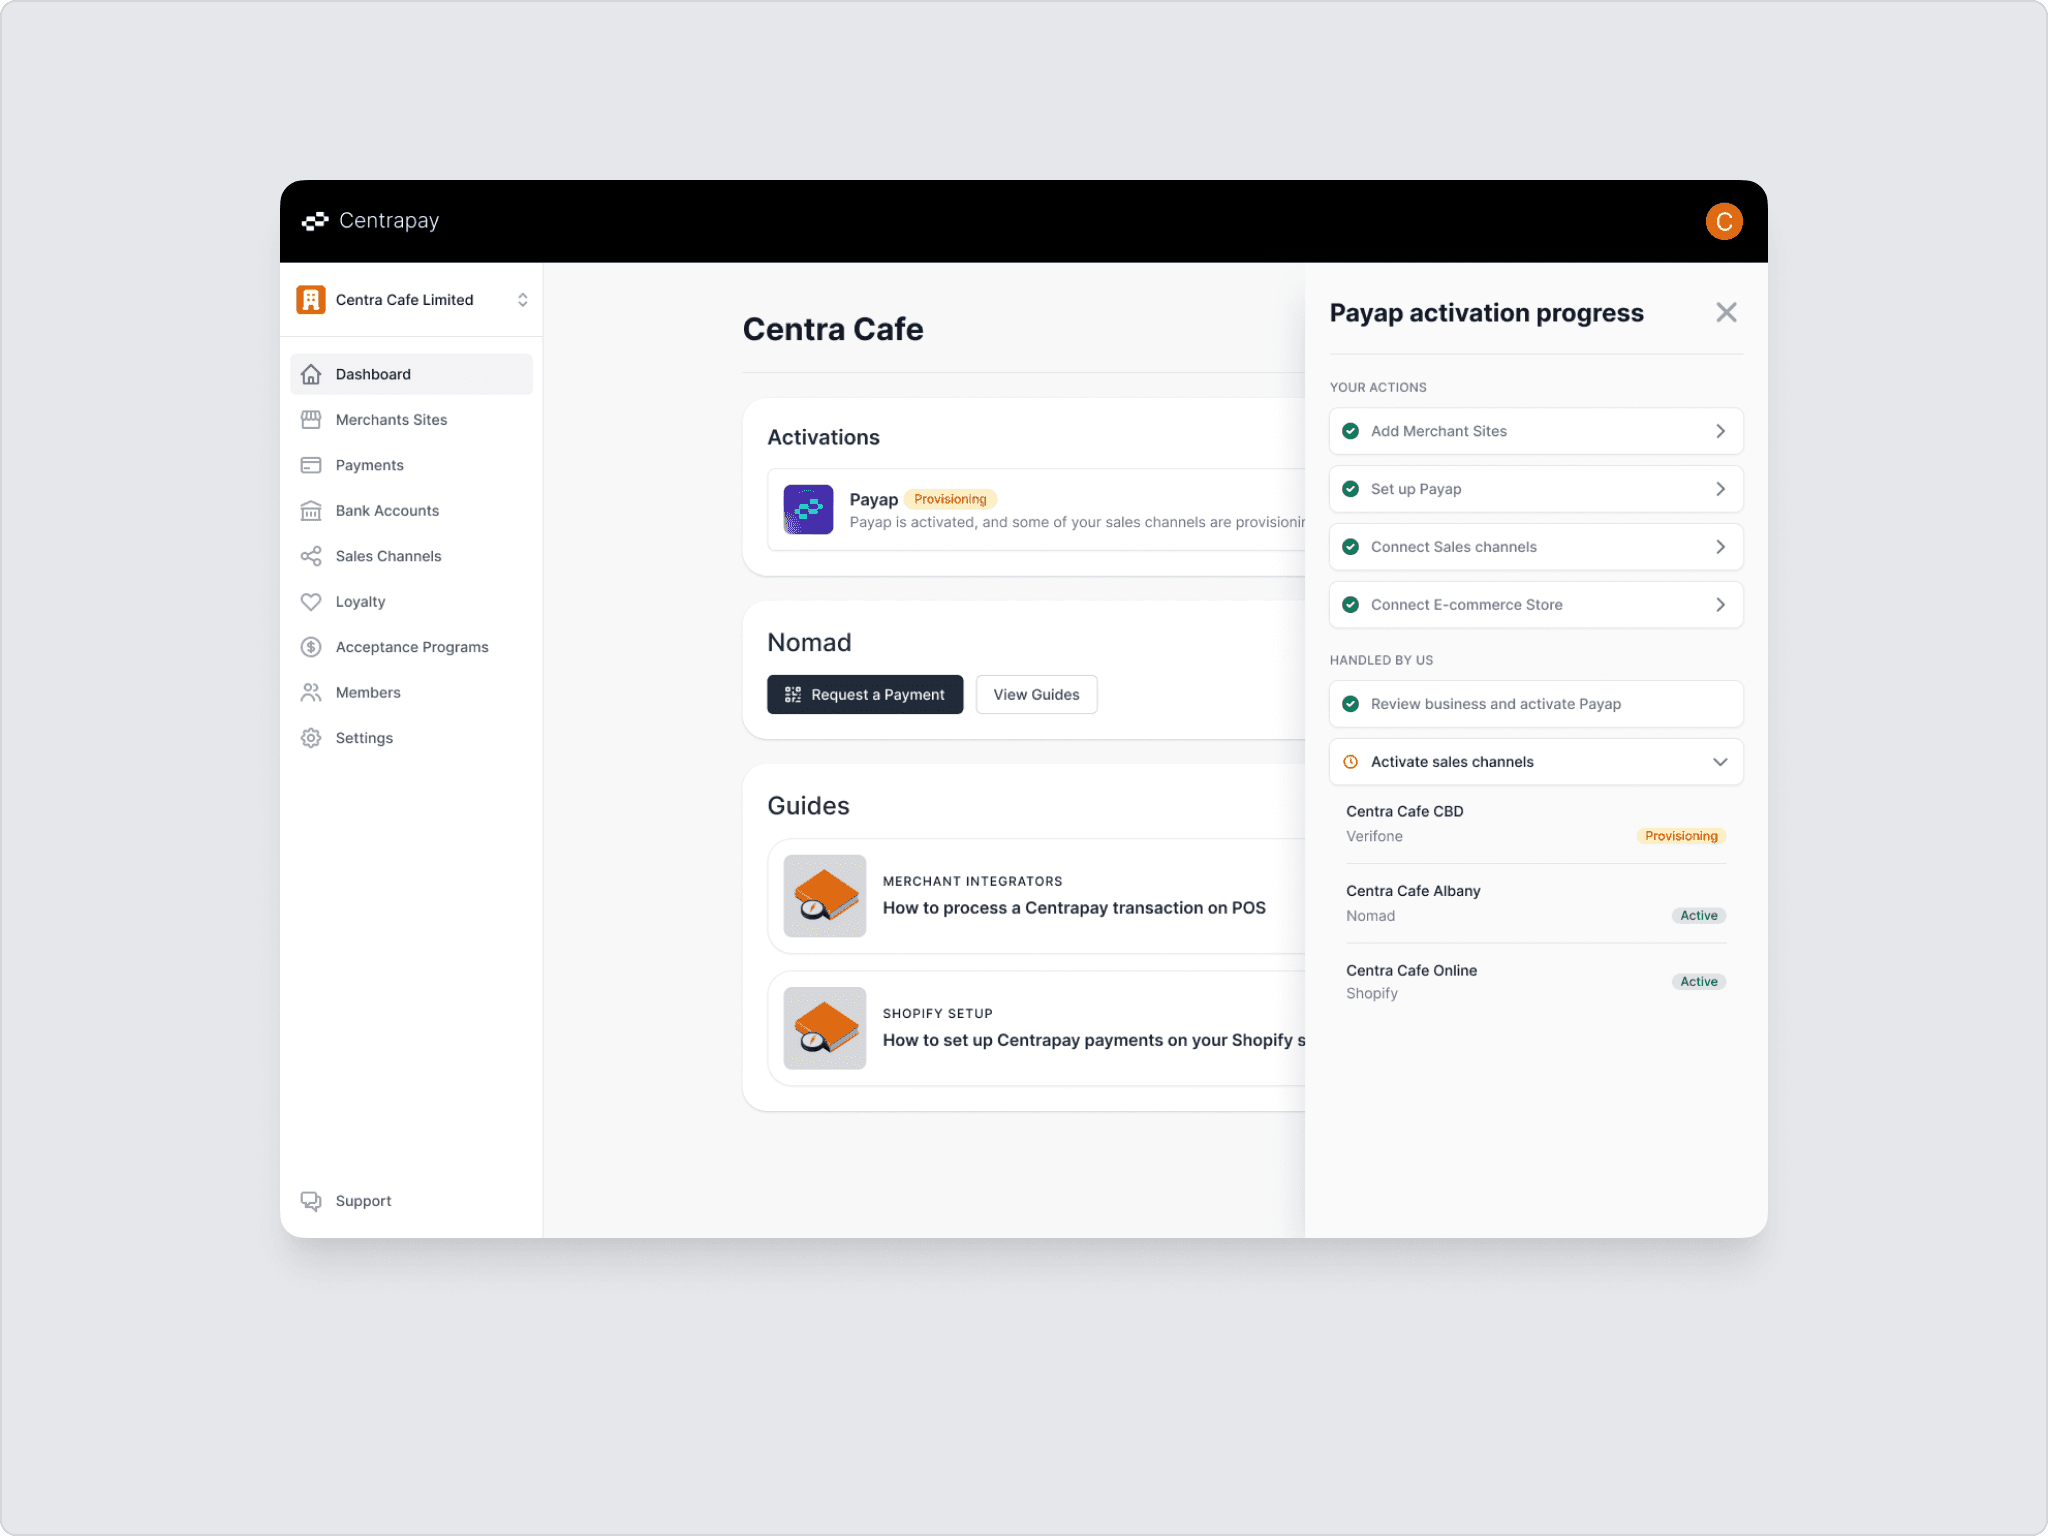
You're good to go
Once Payap's activated, we'll email you. From there, please run a few test transactions and refunds, on your terminal, e-commerce site or through Nomad, to check everything's working.
