Managing Merchants in the Centrapay Business Portal

8 Jul 2025
The Merchants page is where you will find all the Merchant Sites/ID’s associated with your Business Group.
Access Permission:
Role Type | Permission access |
|---|---|
Owner | Edit access |
Cashier | Unable to access |
Process steps
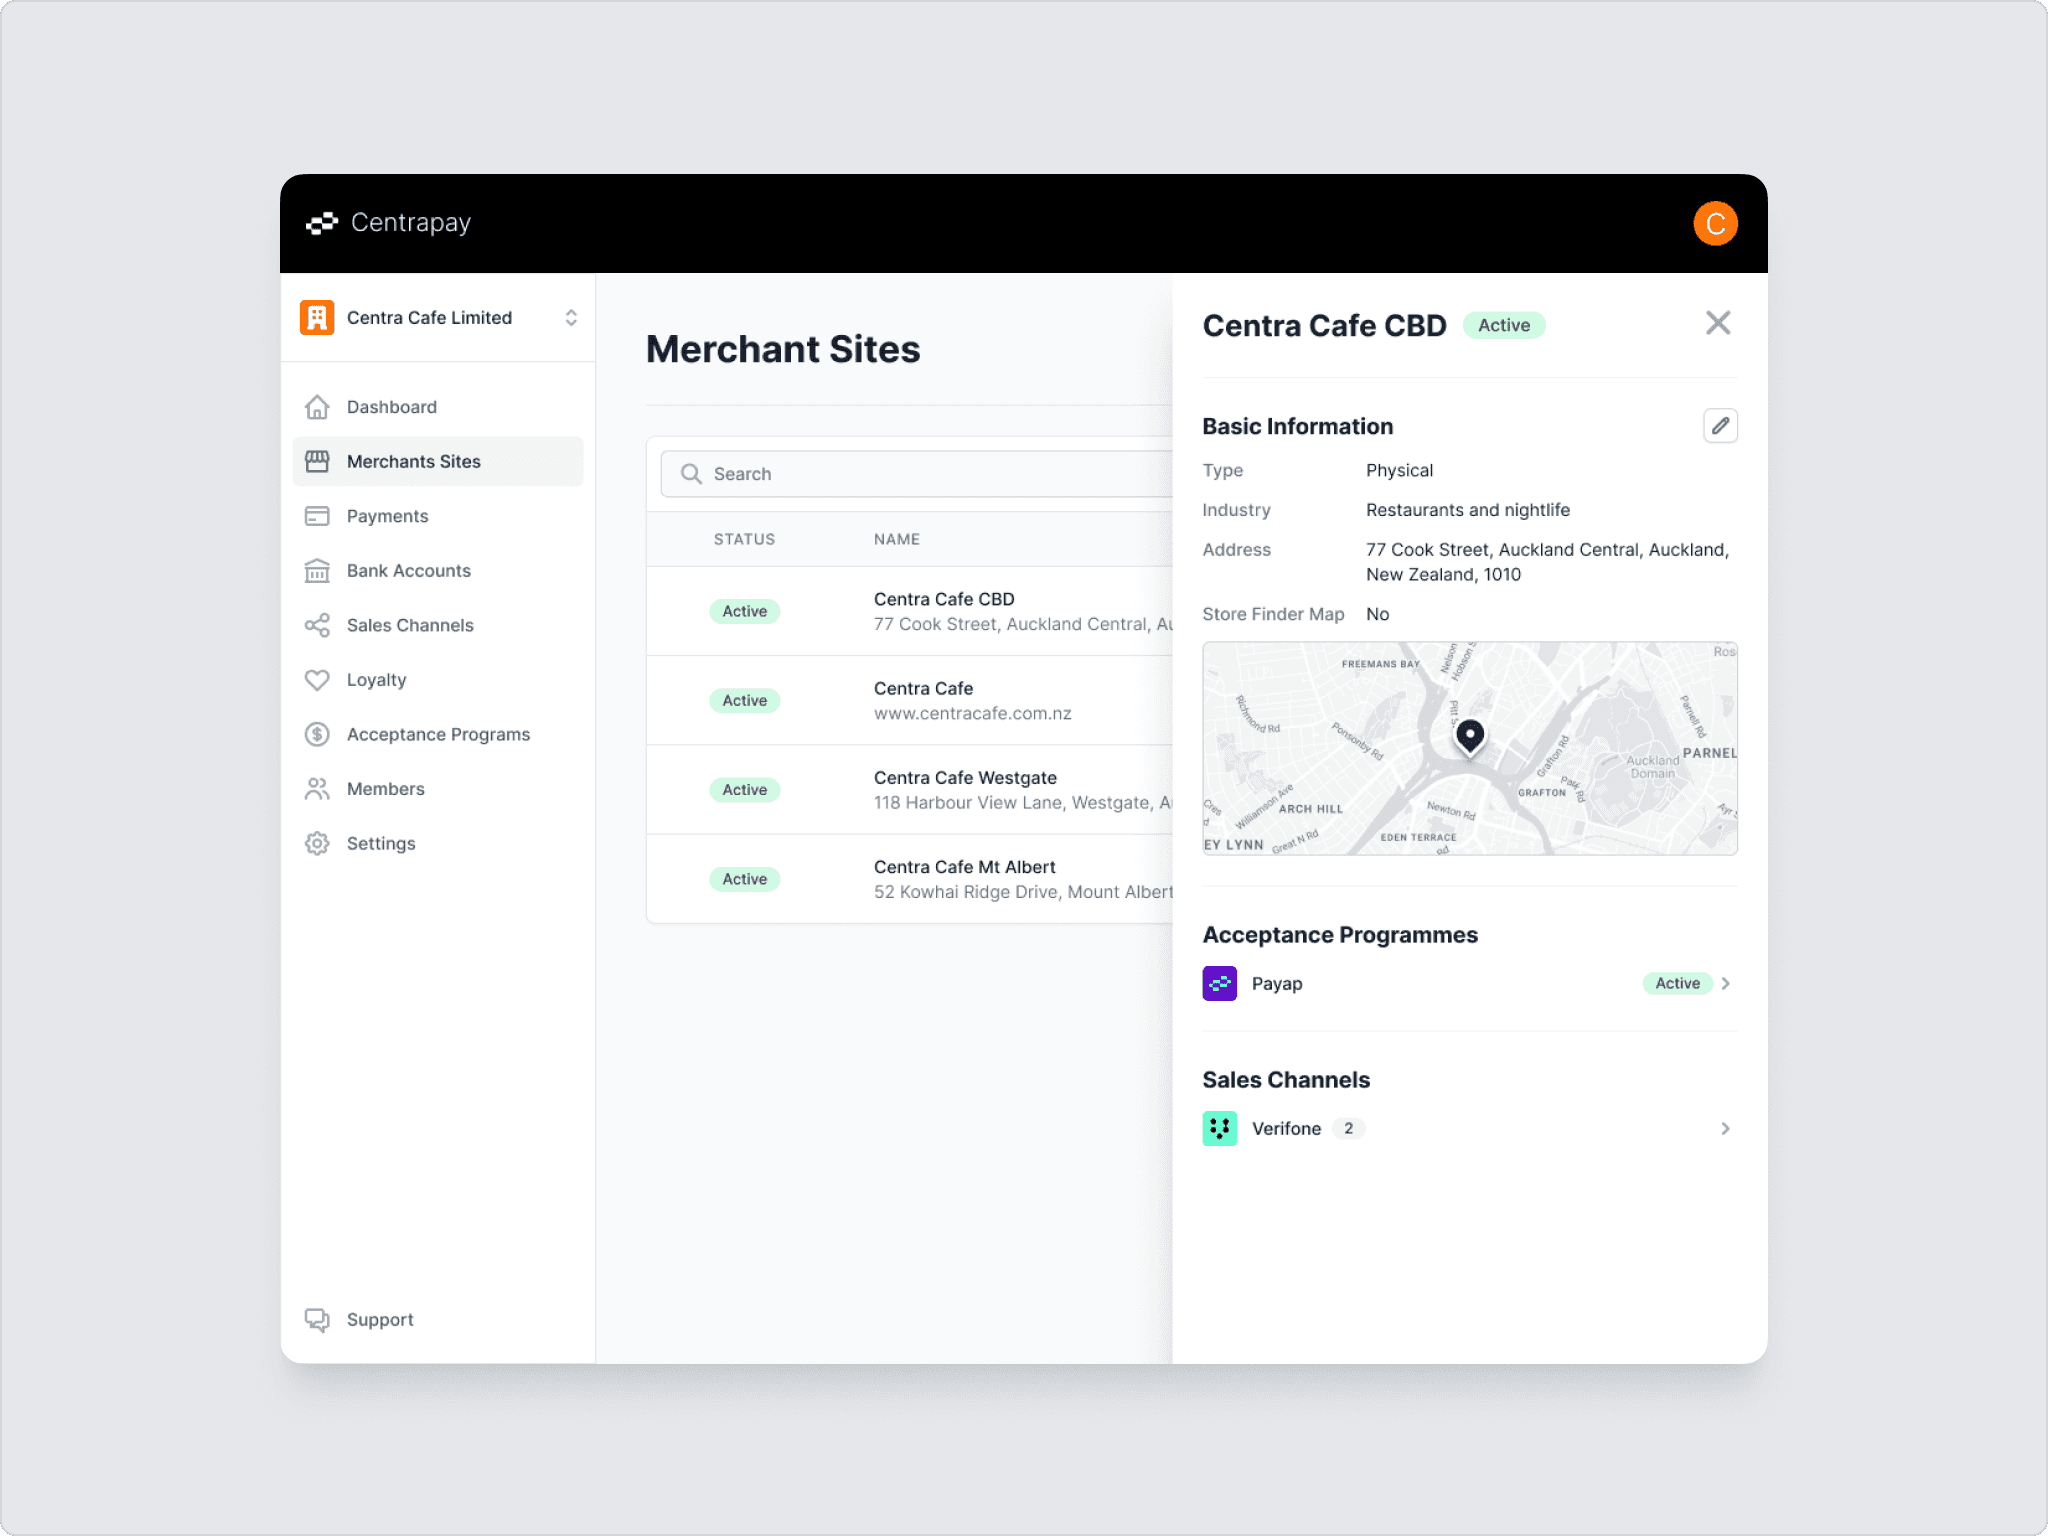
To view Merchant Site details – click the Merchant Site name to show the merchant details:
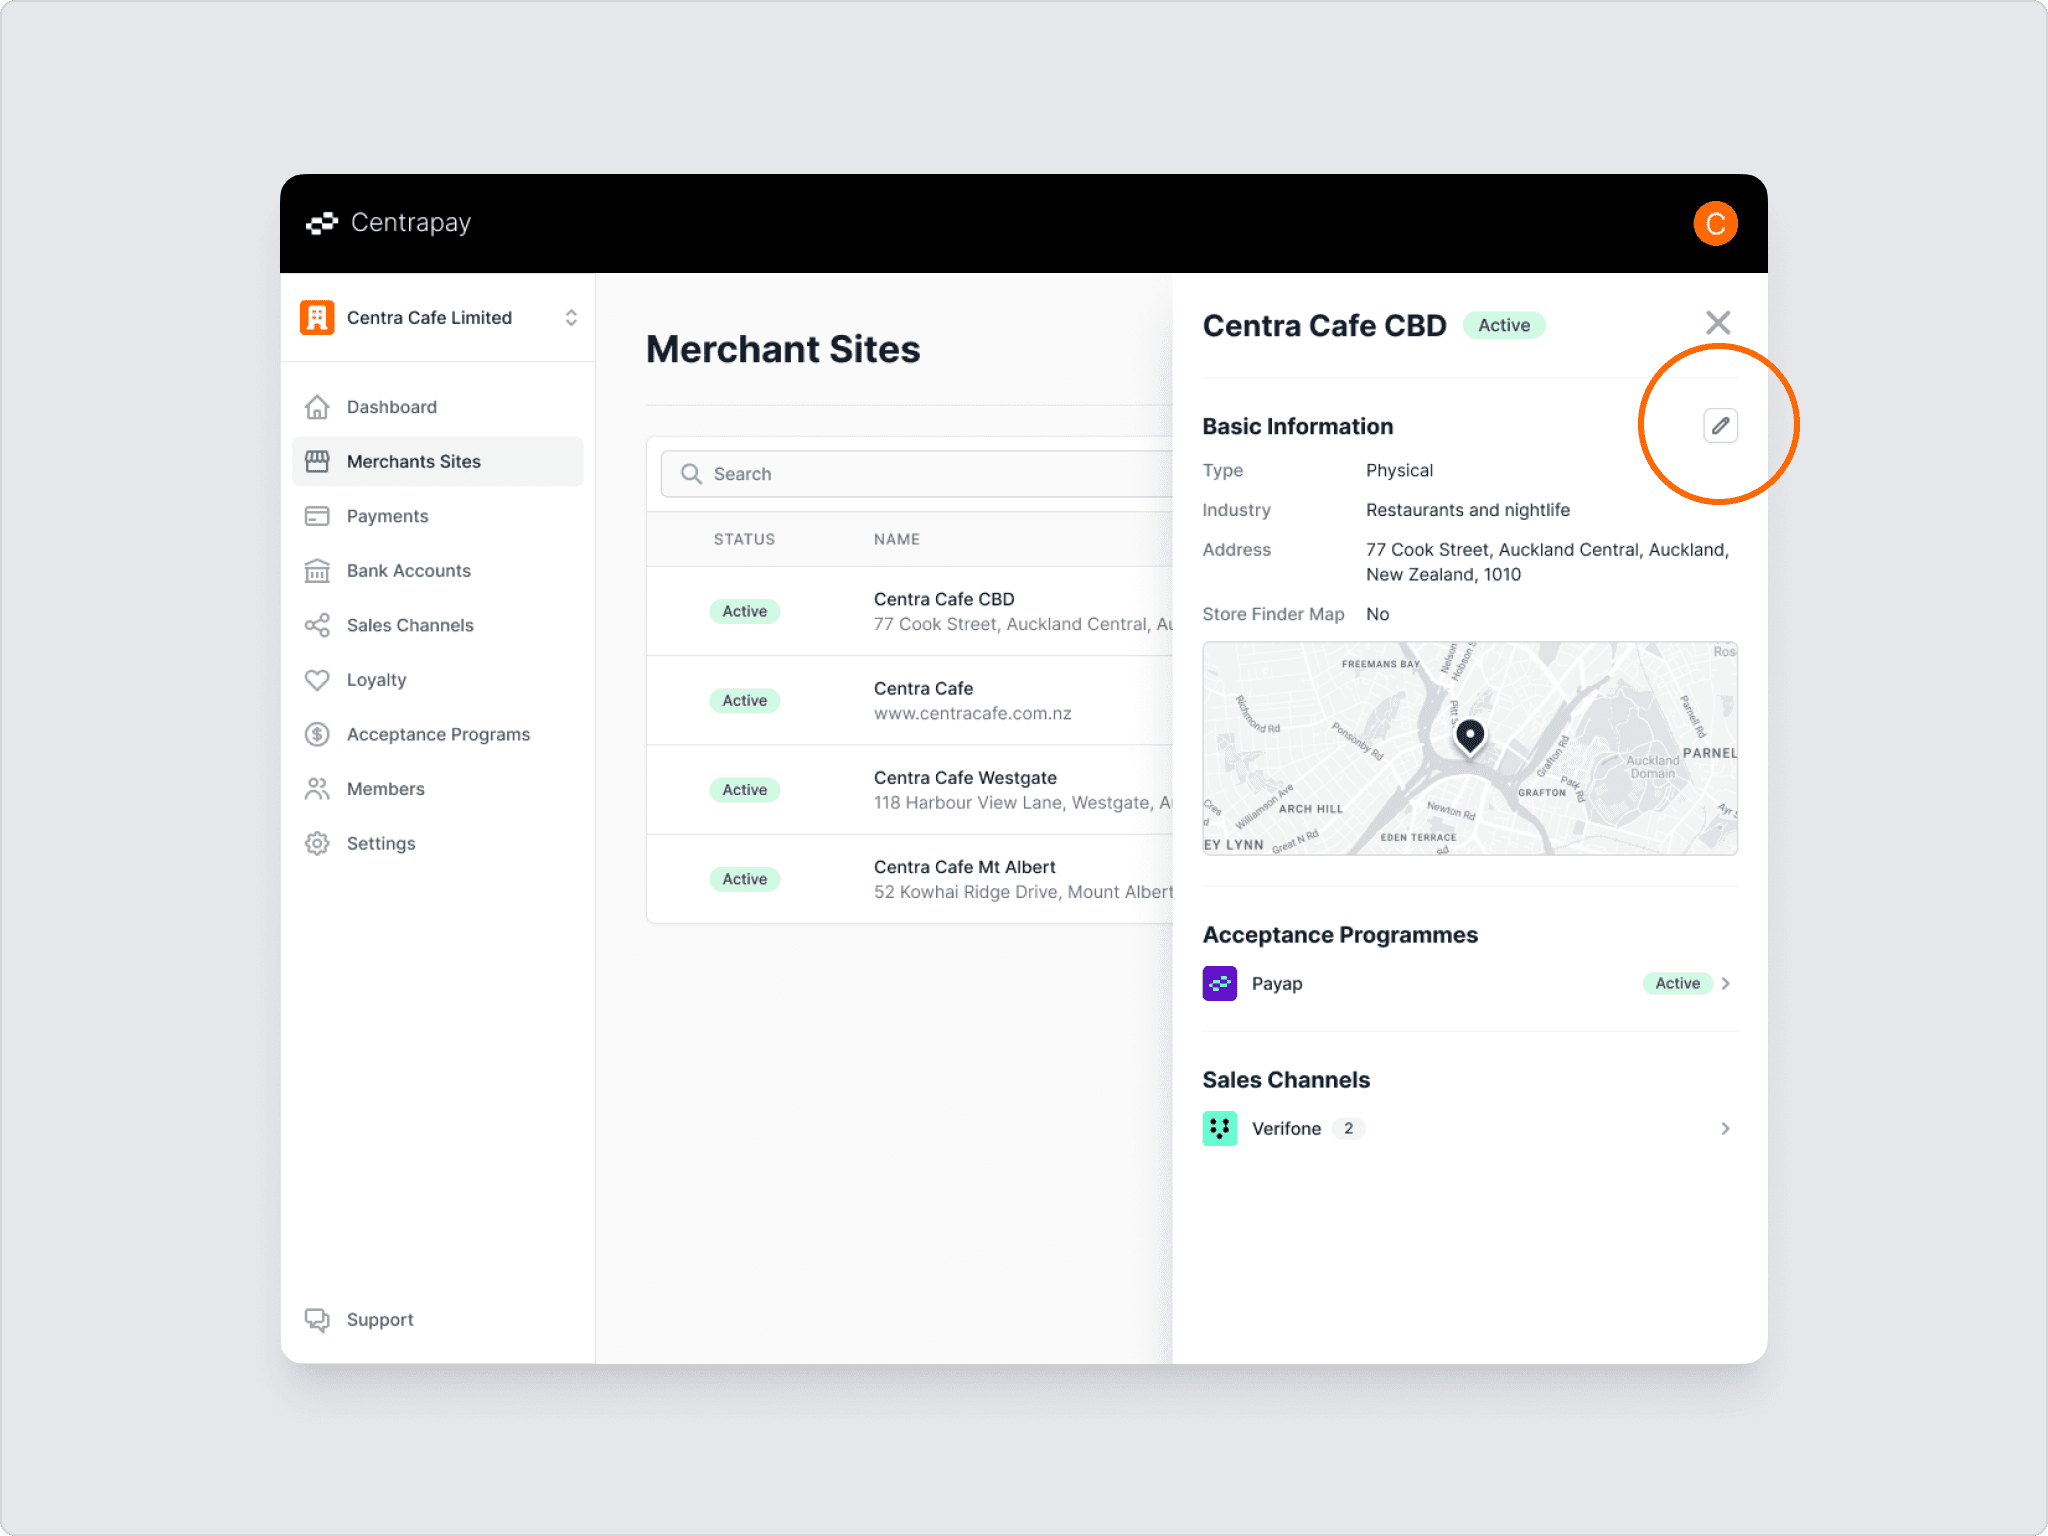
To edit Merchant site details – click ‘Edit Merchant’ button:
Merchant Name – this is the name that appears on the Payap app for consumers when they are looking for your store in the Store Finder or after making a payment. It is important this is your trading name so customers can easily trace where they have made payments.

Industry - this describes what your merchant site does. It will be displayed in the Store Finder with a corresponding icon to help users identify the type of store.

Address – the Merchant site address appears on the Store Finder map in the app and lets Centrapay identify your store location.
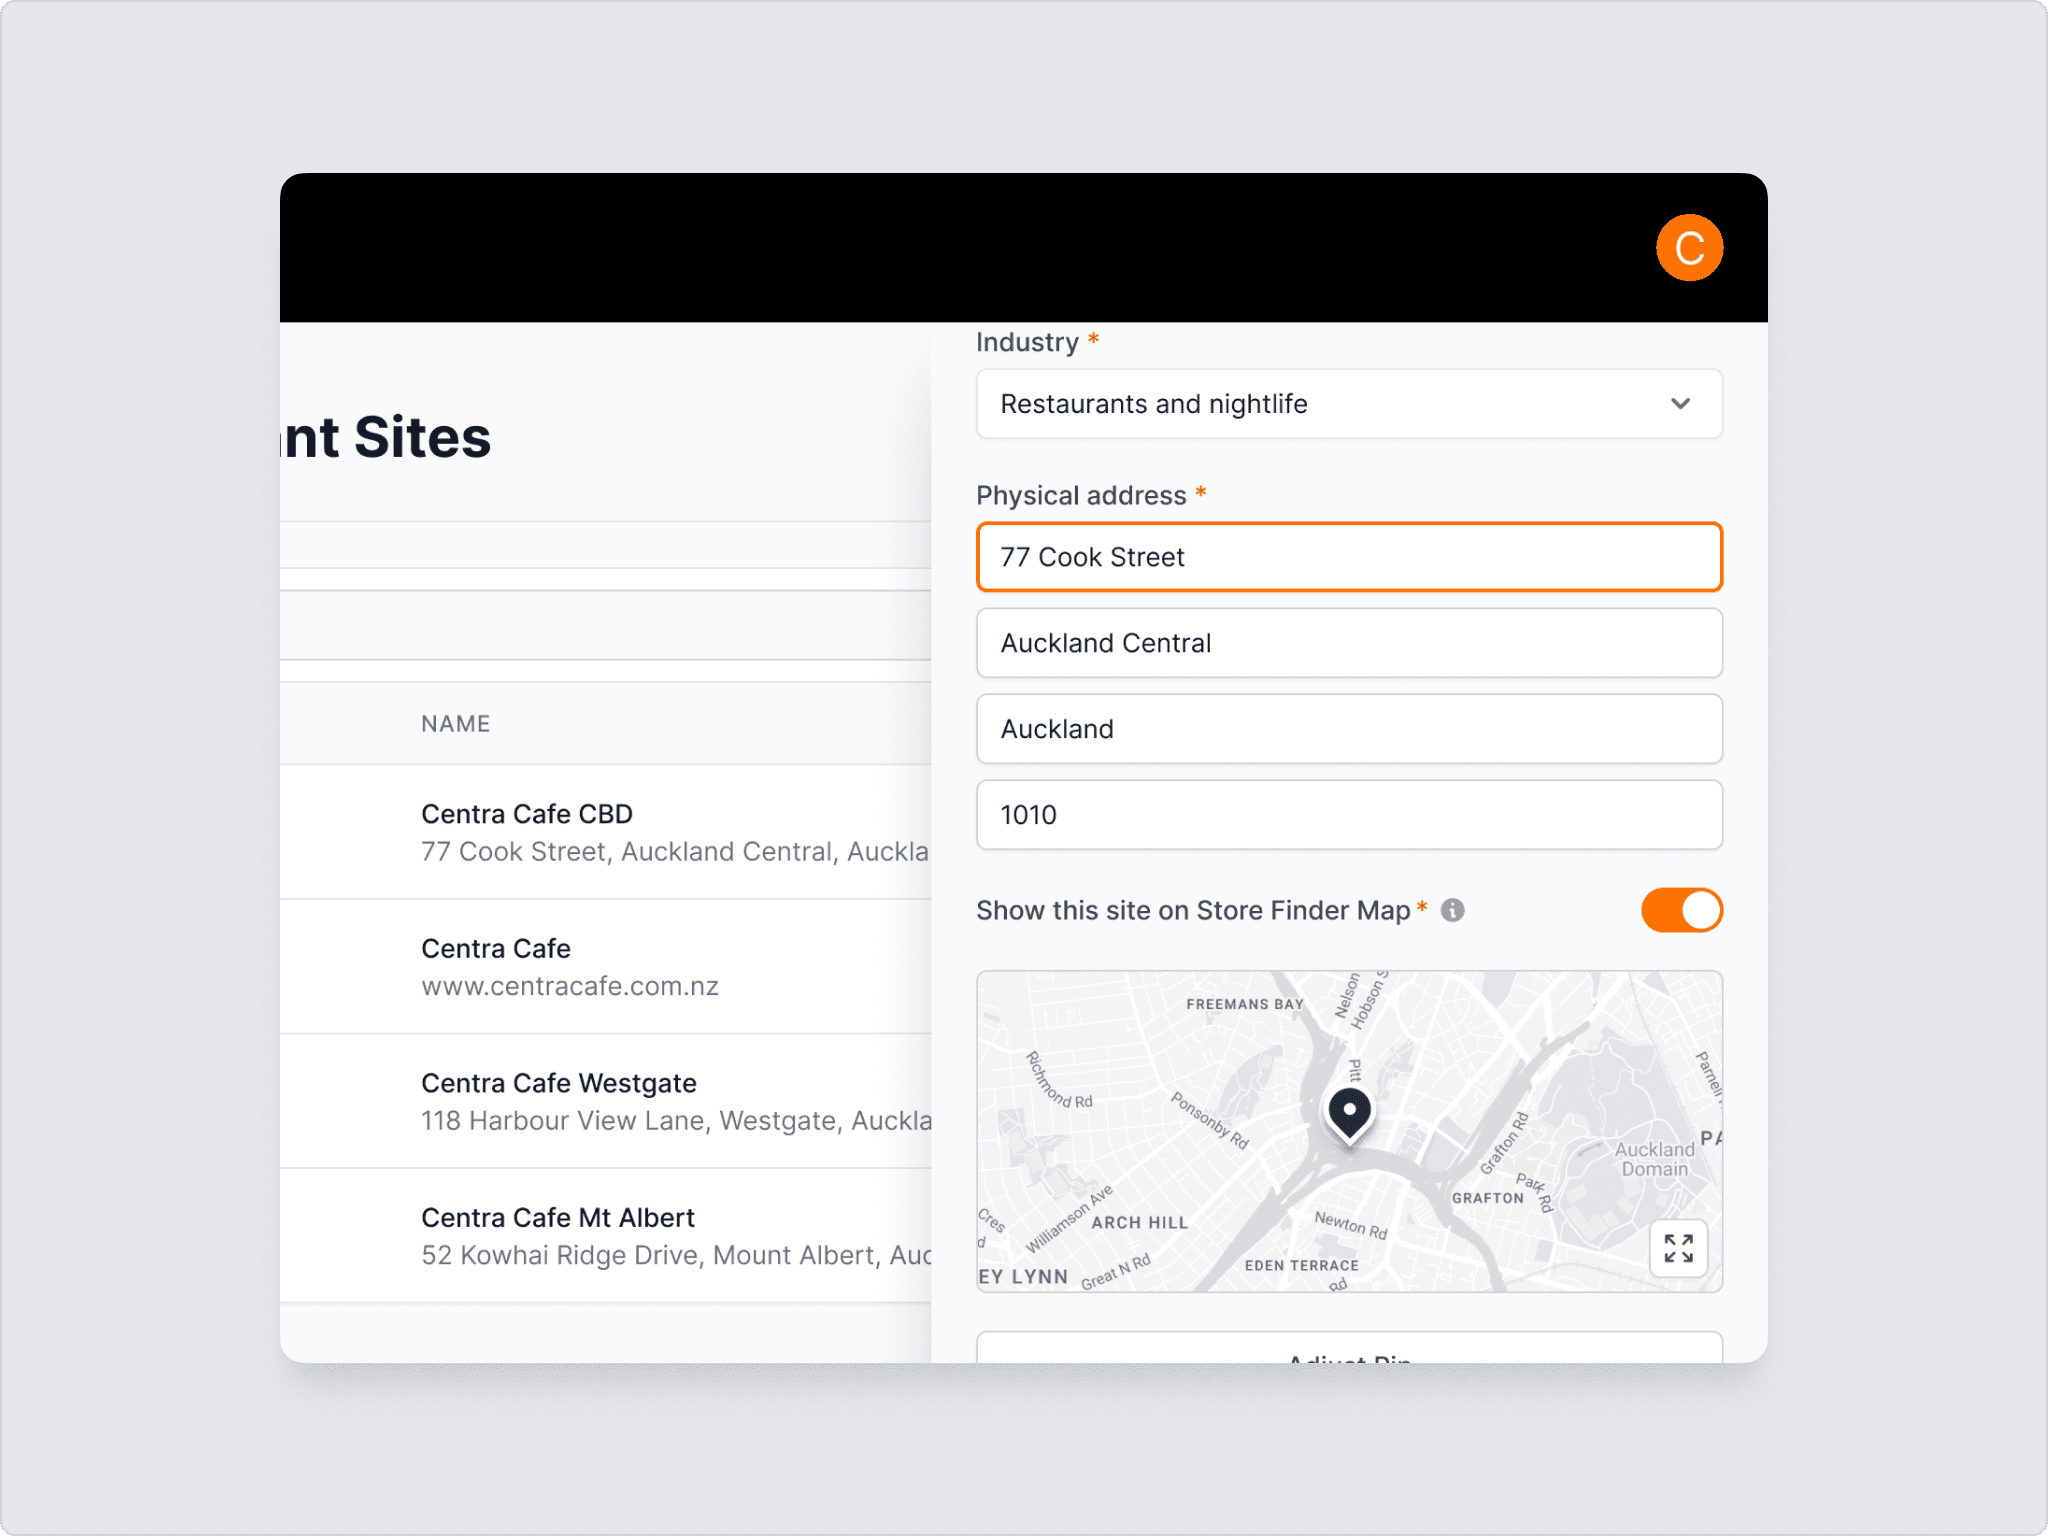
Show this site on Store Finder Map - this toggle determines whether your merchant will appear on the Store Finder map for users. If you do not have a fixed physical store location, you may consider turning this off.
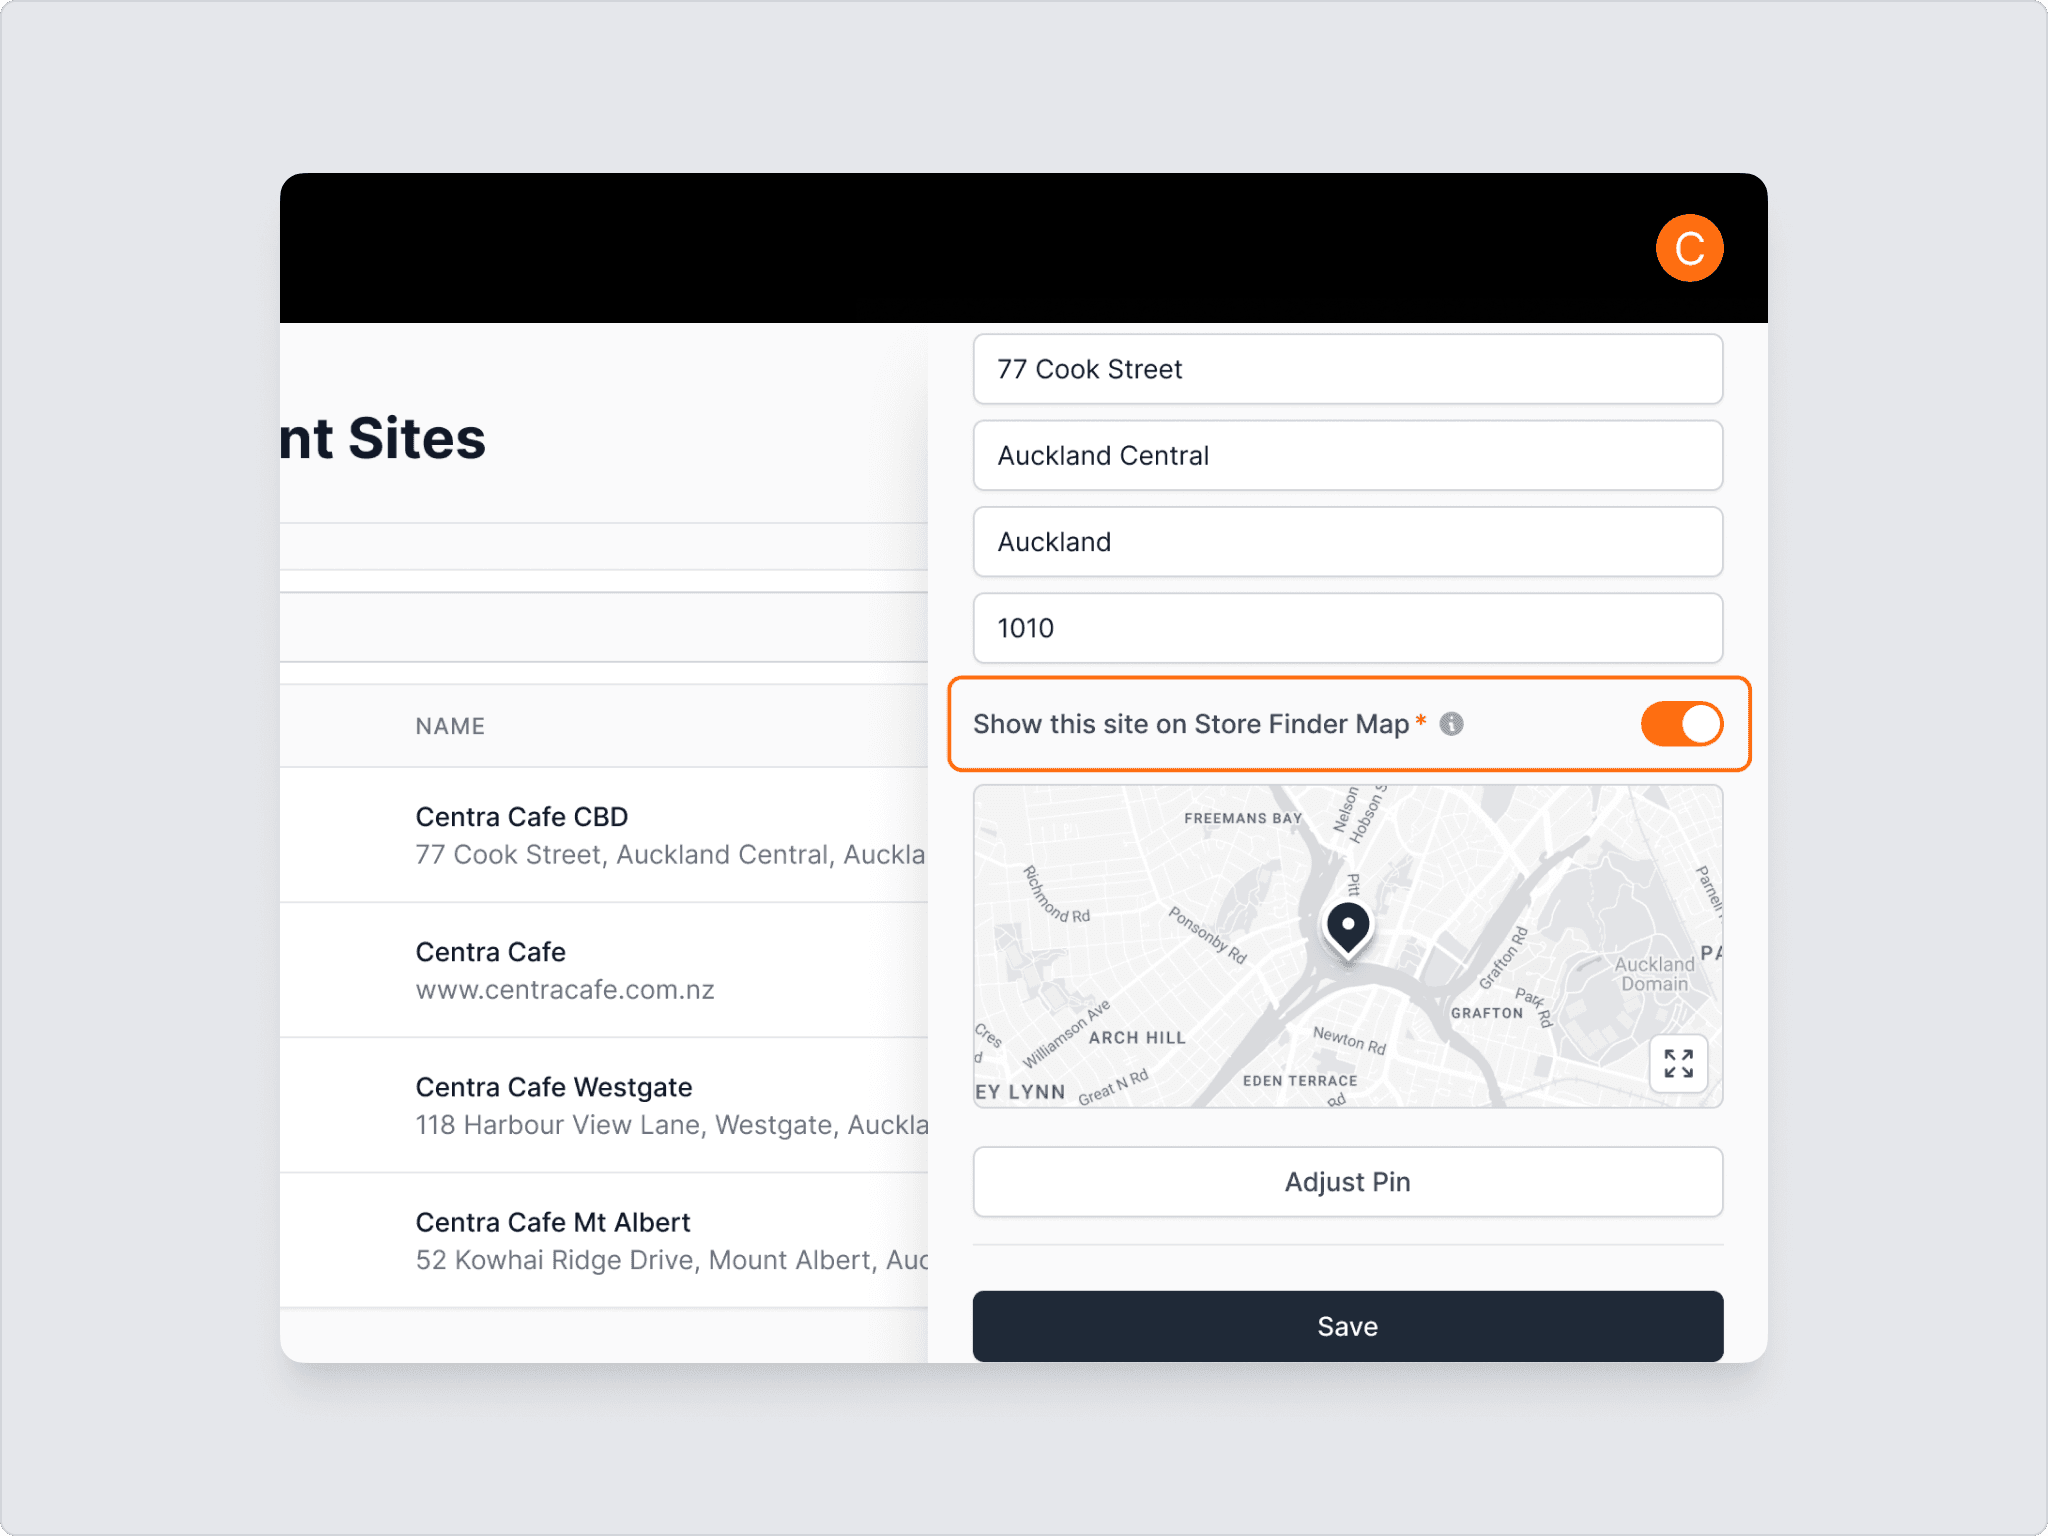
Adjust Pin - If you notice that your merchant location is incorrect in the map preview, you can click ‘Adjust Pin’ to open the map and drag the pin to the correct location for your store address.


Save changes - click ‘Save’ button to save your changes (note if you want to cancel you changes or have not made any simply click the is on top left-hand corner of your screen).
Add a new Merchant Site – this option allows you to add a new provisional Merchant Site. Provisional sites cannot take live transactions from customers until you have enabled the Acceptance Program for your merchant and configured the Sales Channels.

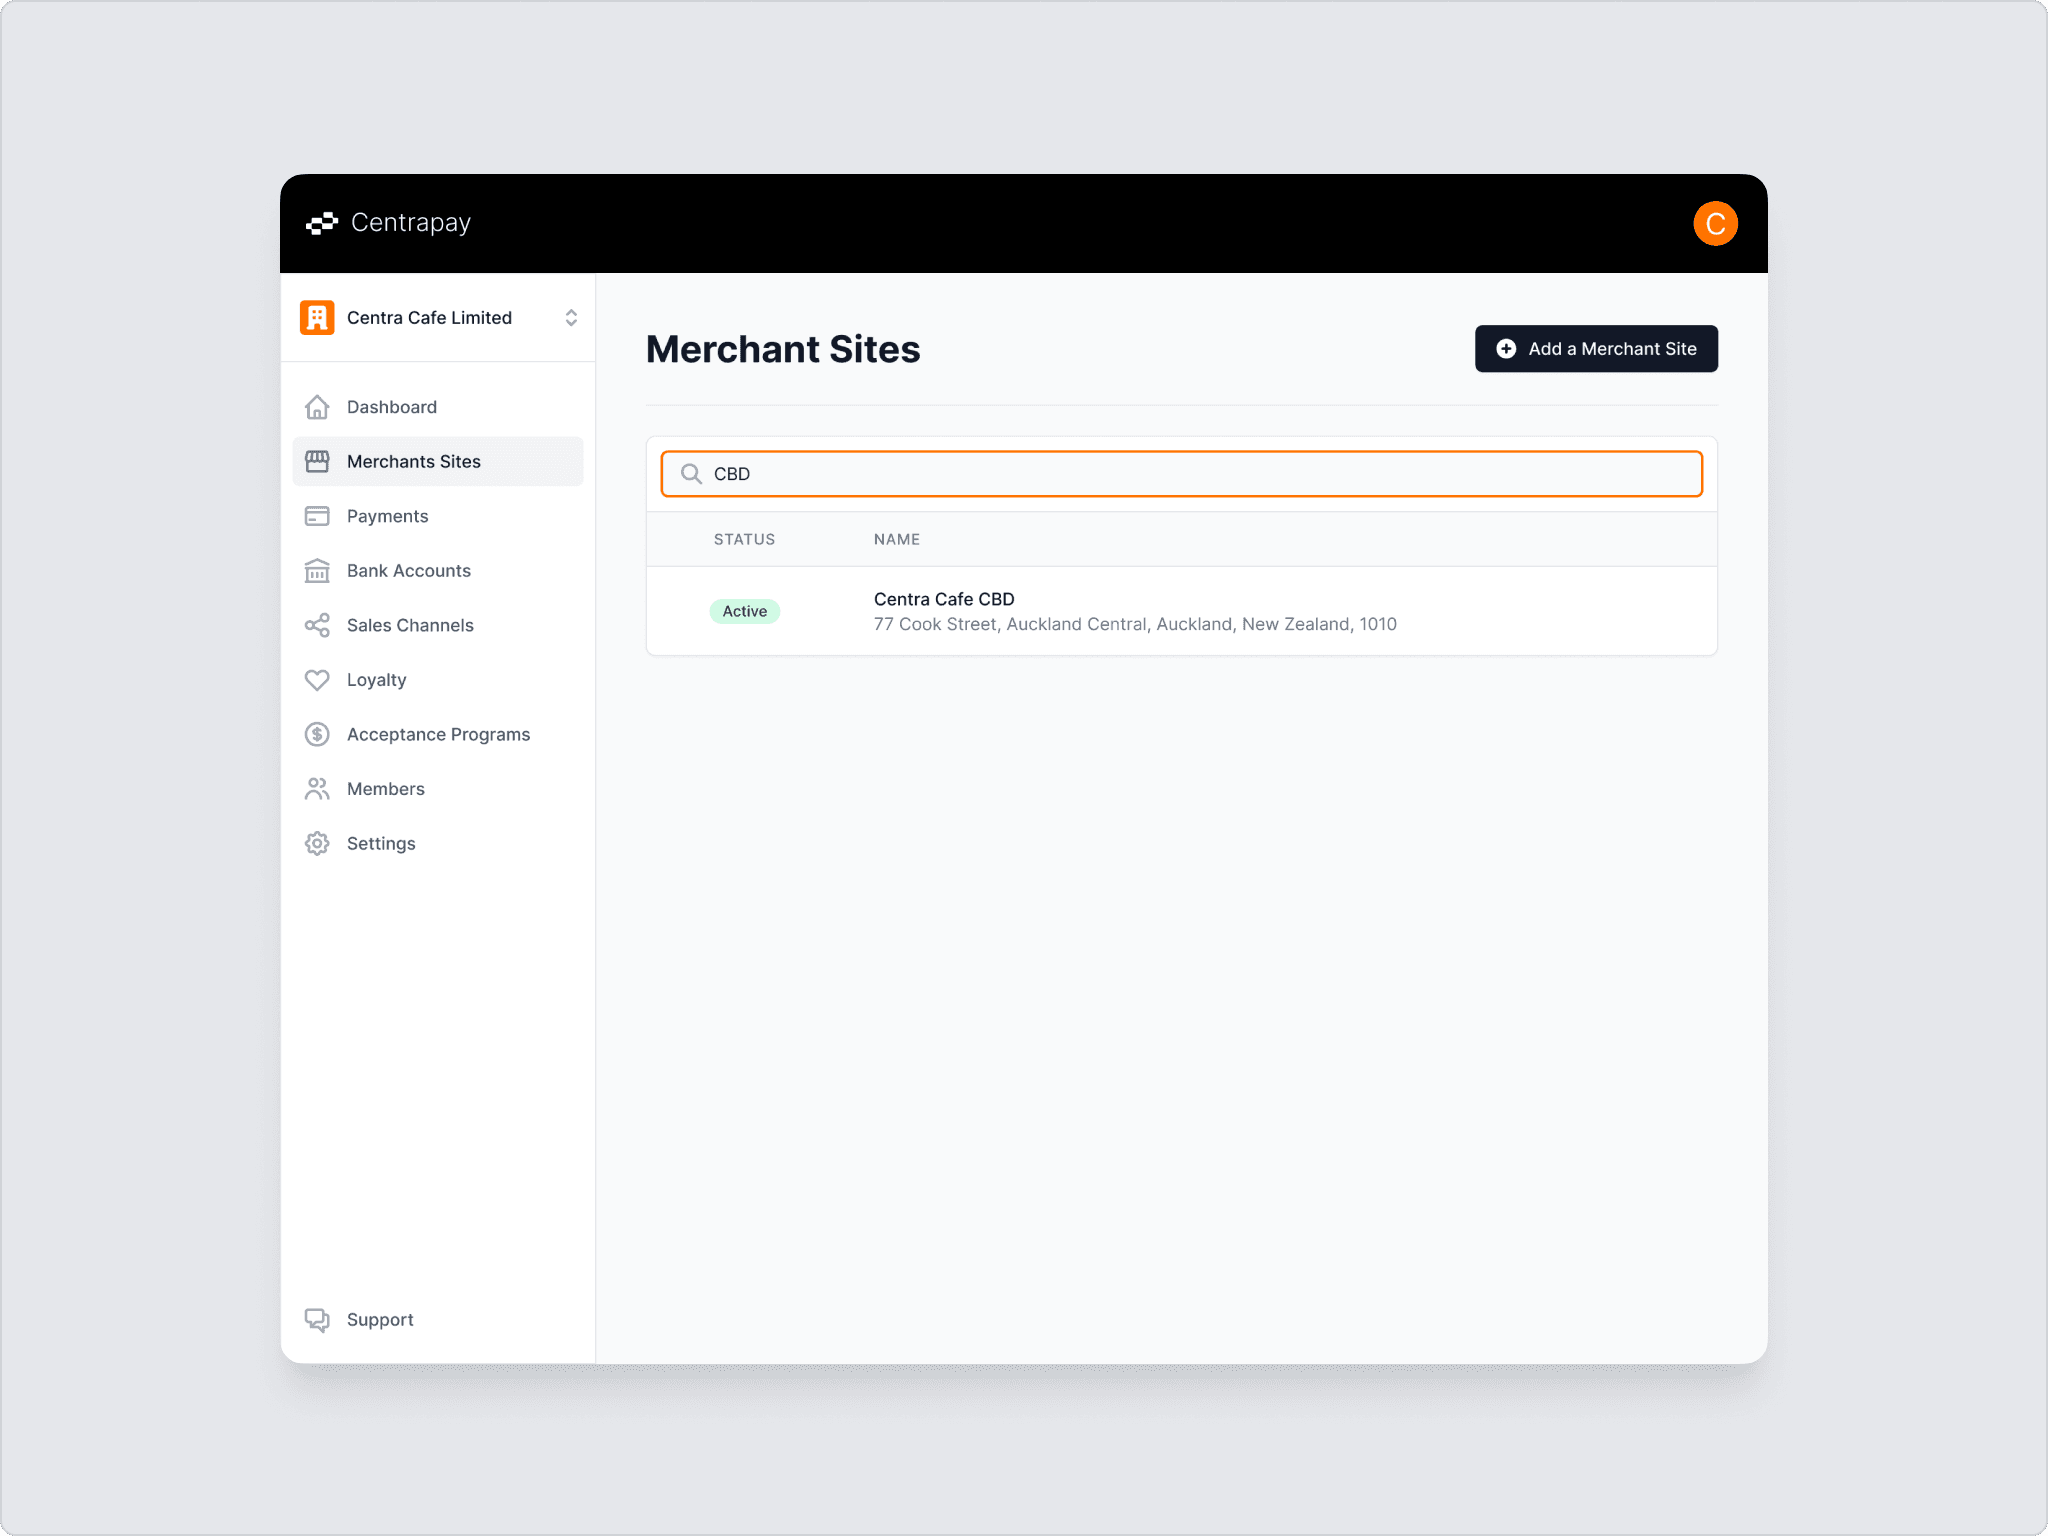
Search for a Merchant Site – at the top of the merchant list, enter keywords from the merchant name to quickly find the desired merchant.